Guide to Backpacking the Kalalau Trail: Permits, Packing, and Other Tips
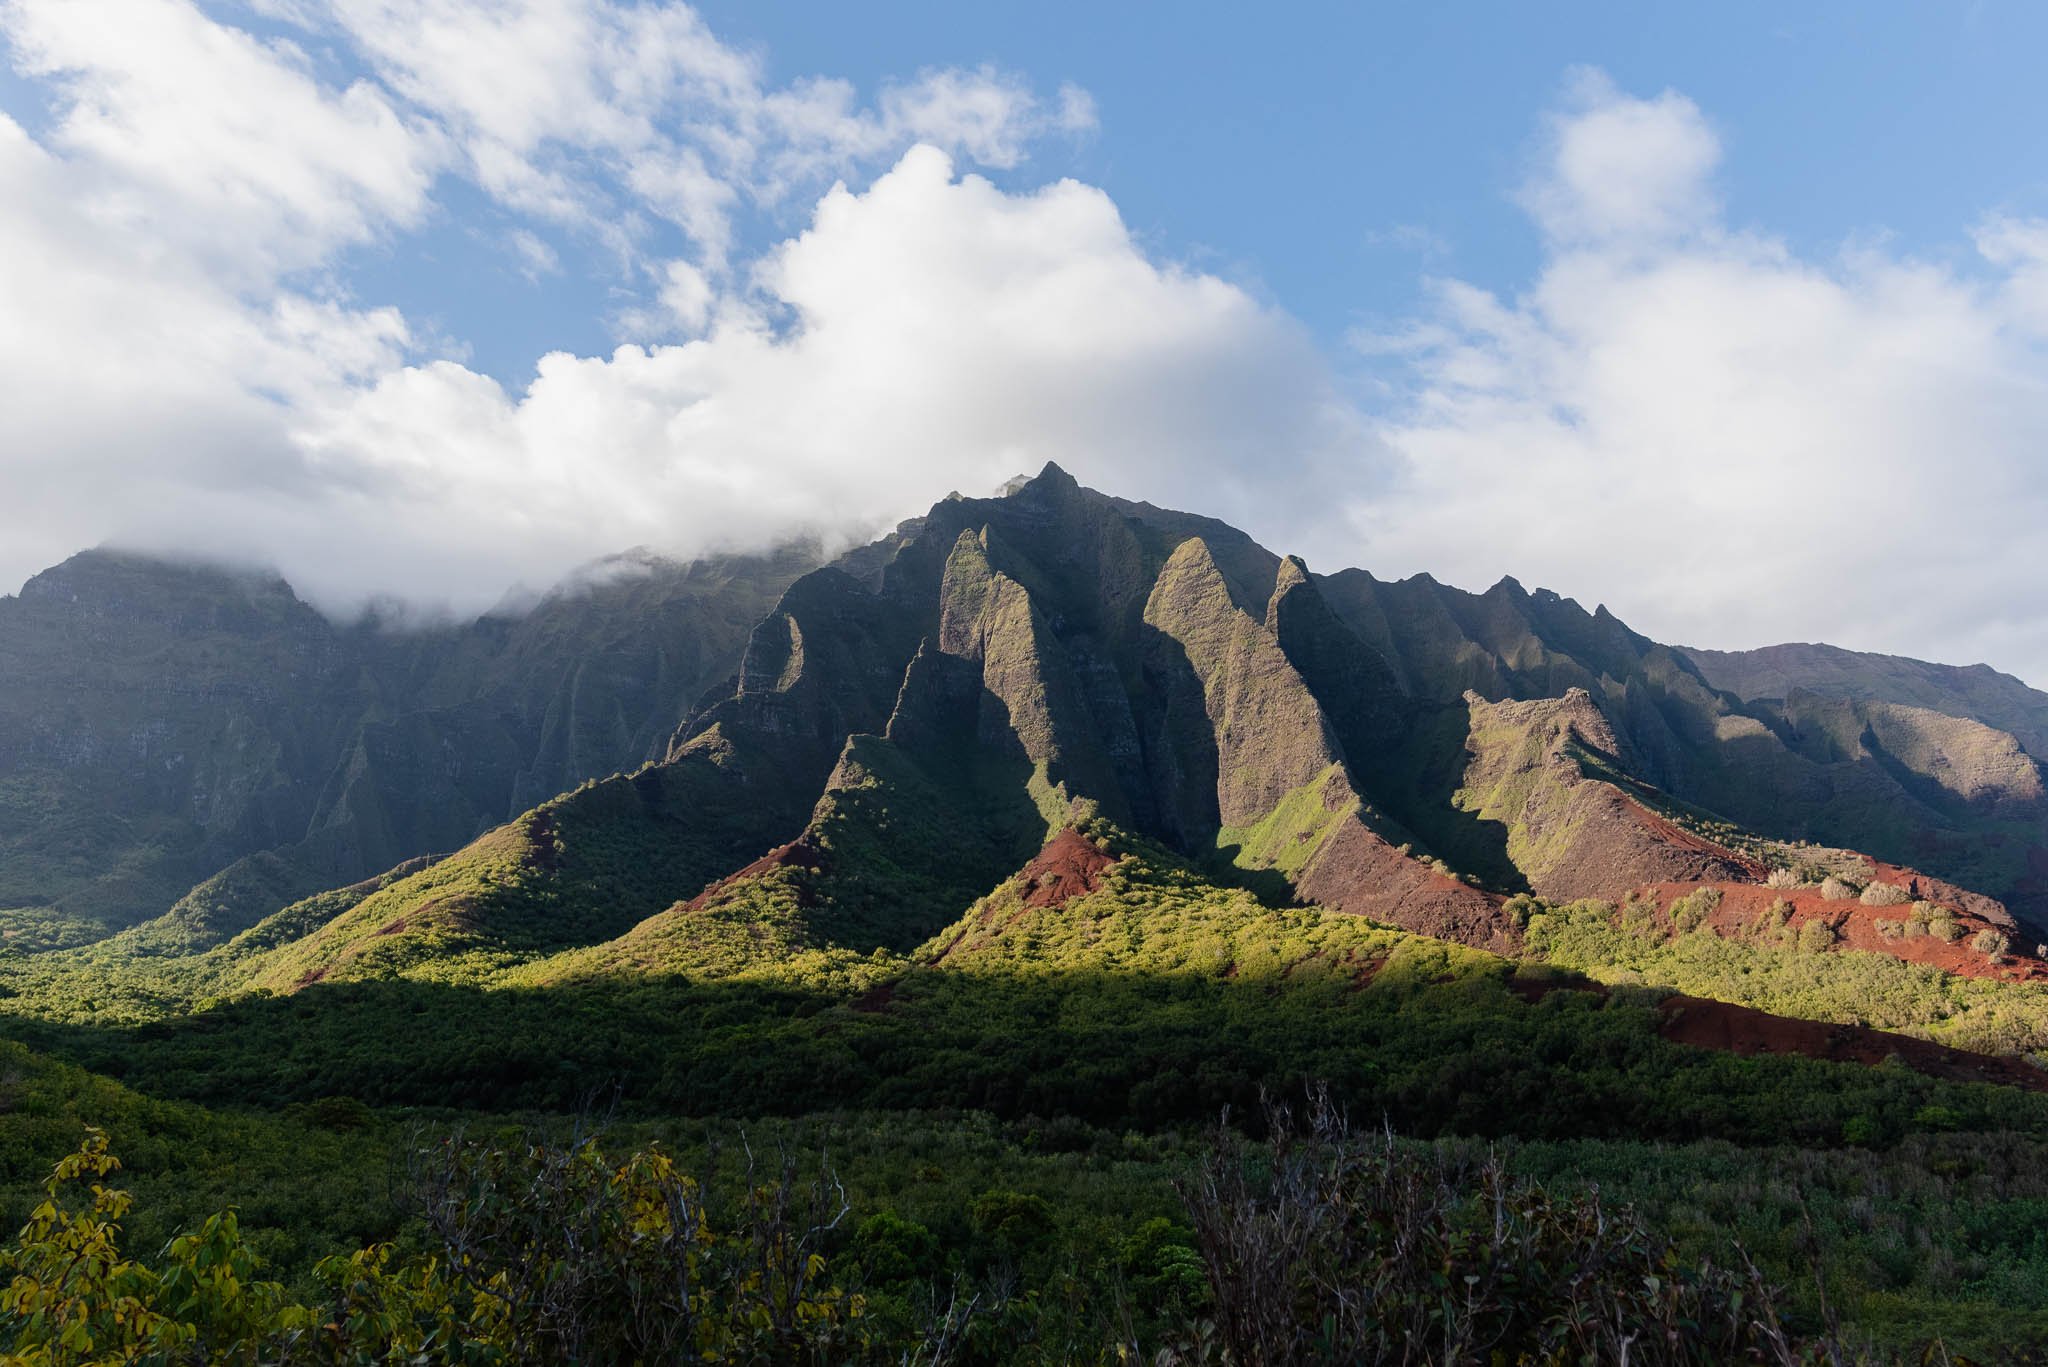
Kalalau Valley
The Kalalau Trail is a 22-mile out-and-back hike along the Napali Coast in Kauai. It’s usually done as a multi-night backpacking trip. In this guide, I go over what worked well for me when I went in March 2022, as well as things I wish I knew before I went. If you’ve decided you want to hike the Kalalau Trail and need some tips for planning, keep reading!
For more details and photos from my trip in March 2022, check out my trip writeup here.
Basics
| Distance | 22 miles |
| Type | Out-and-back |
| Elevation Gain | ~6,000 feet |
| Elevation Range | 0 feet - 818 feet |
| Campsites | Hanakoa (mile 6), Kalalau Beach (mile 11) |
| Recommended Time | 2-6 days |
| Difficulty | Moderate-Difficult |
| Permit | Kalalau Trail - Napali Coast State Wilderness Park |
| Cost | $35/person/night for permit + $20/day for parking |
| Trailhead | Ke'e Beach |
| Highlights | Kalalau Beach, Kalalau Valley, Hanakoa Falls, Hanakapi’ai Falls |
Kalalau Trail Itinerary
Kalalau Beach
Since the hike to and from Kalalau Beach takes an entire day, I recommend staying at least 2 nights at Kalalau Beach so you have a full day in between (or more!) to enjoy the beach.
Day 1: Hike to Kalalau Beach (11 miles)
Day 2 up to 5: Relax at Kalalau Beach (0 miles)
Last Day: Hike out of Kalalau (11 miles)
Optional Side Trips
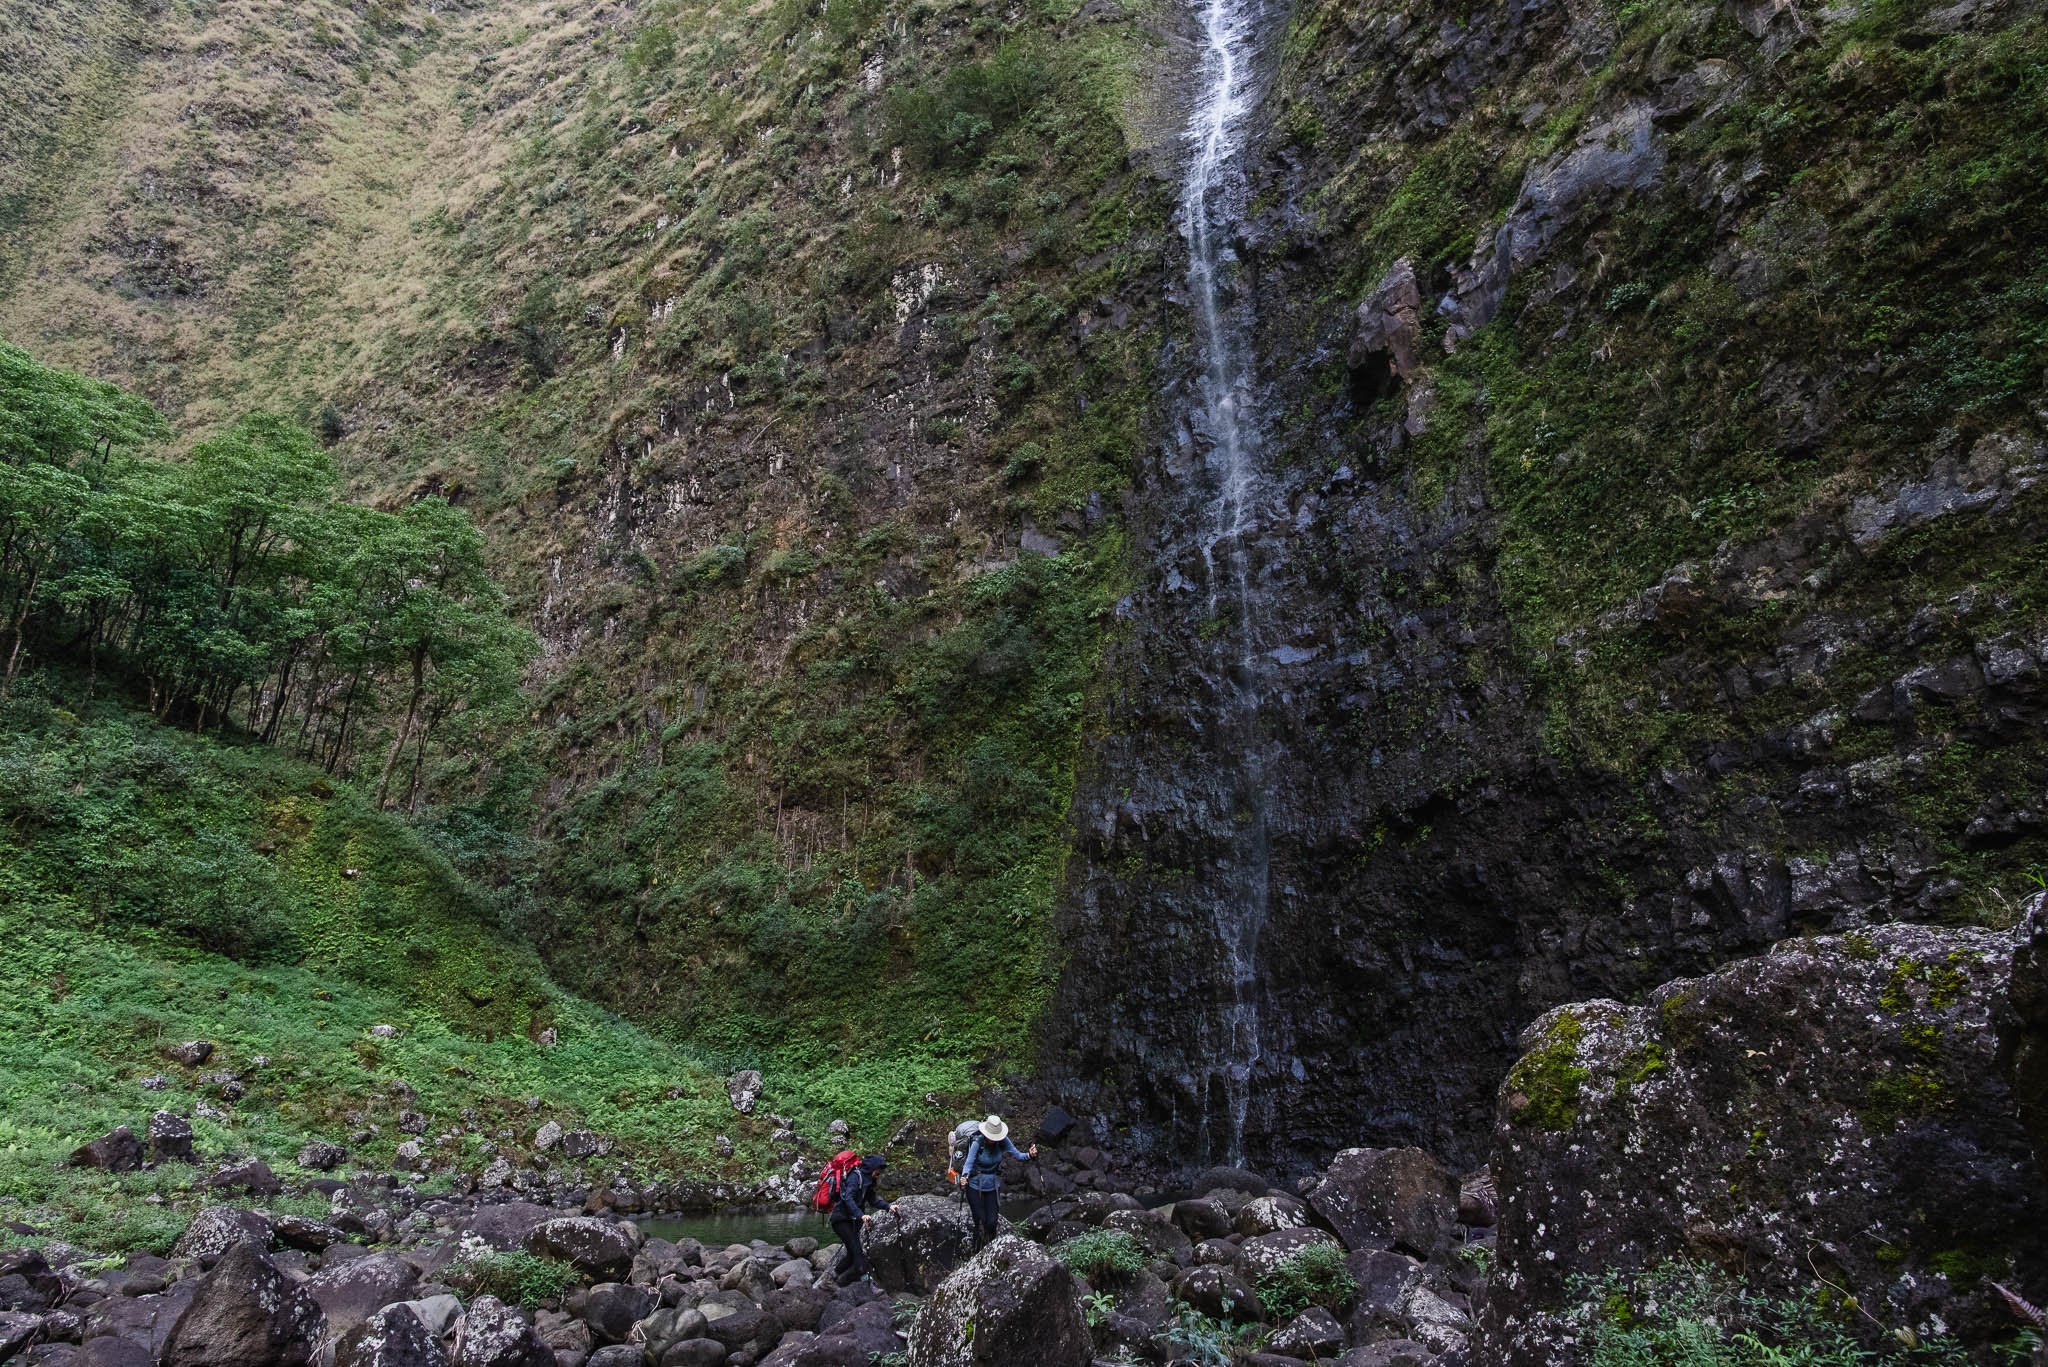
Popular side trips on the Kalalau Trail along the way to Kalalau Beach are Hanakoa Falls (+1 mile round-trip) at the Hanakoa junction (mile 6) and Hanakapai’i Falls (+4 miles round-trip) at the Hanakapai’i junction (mile 2).
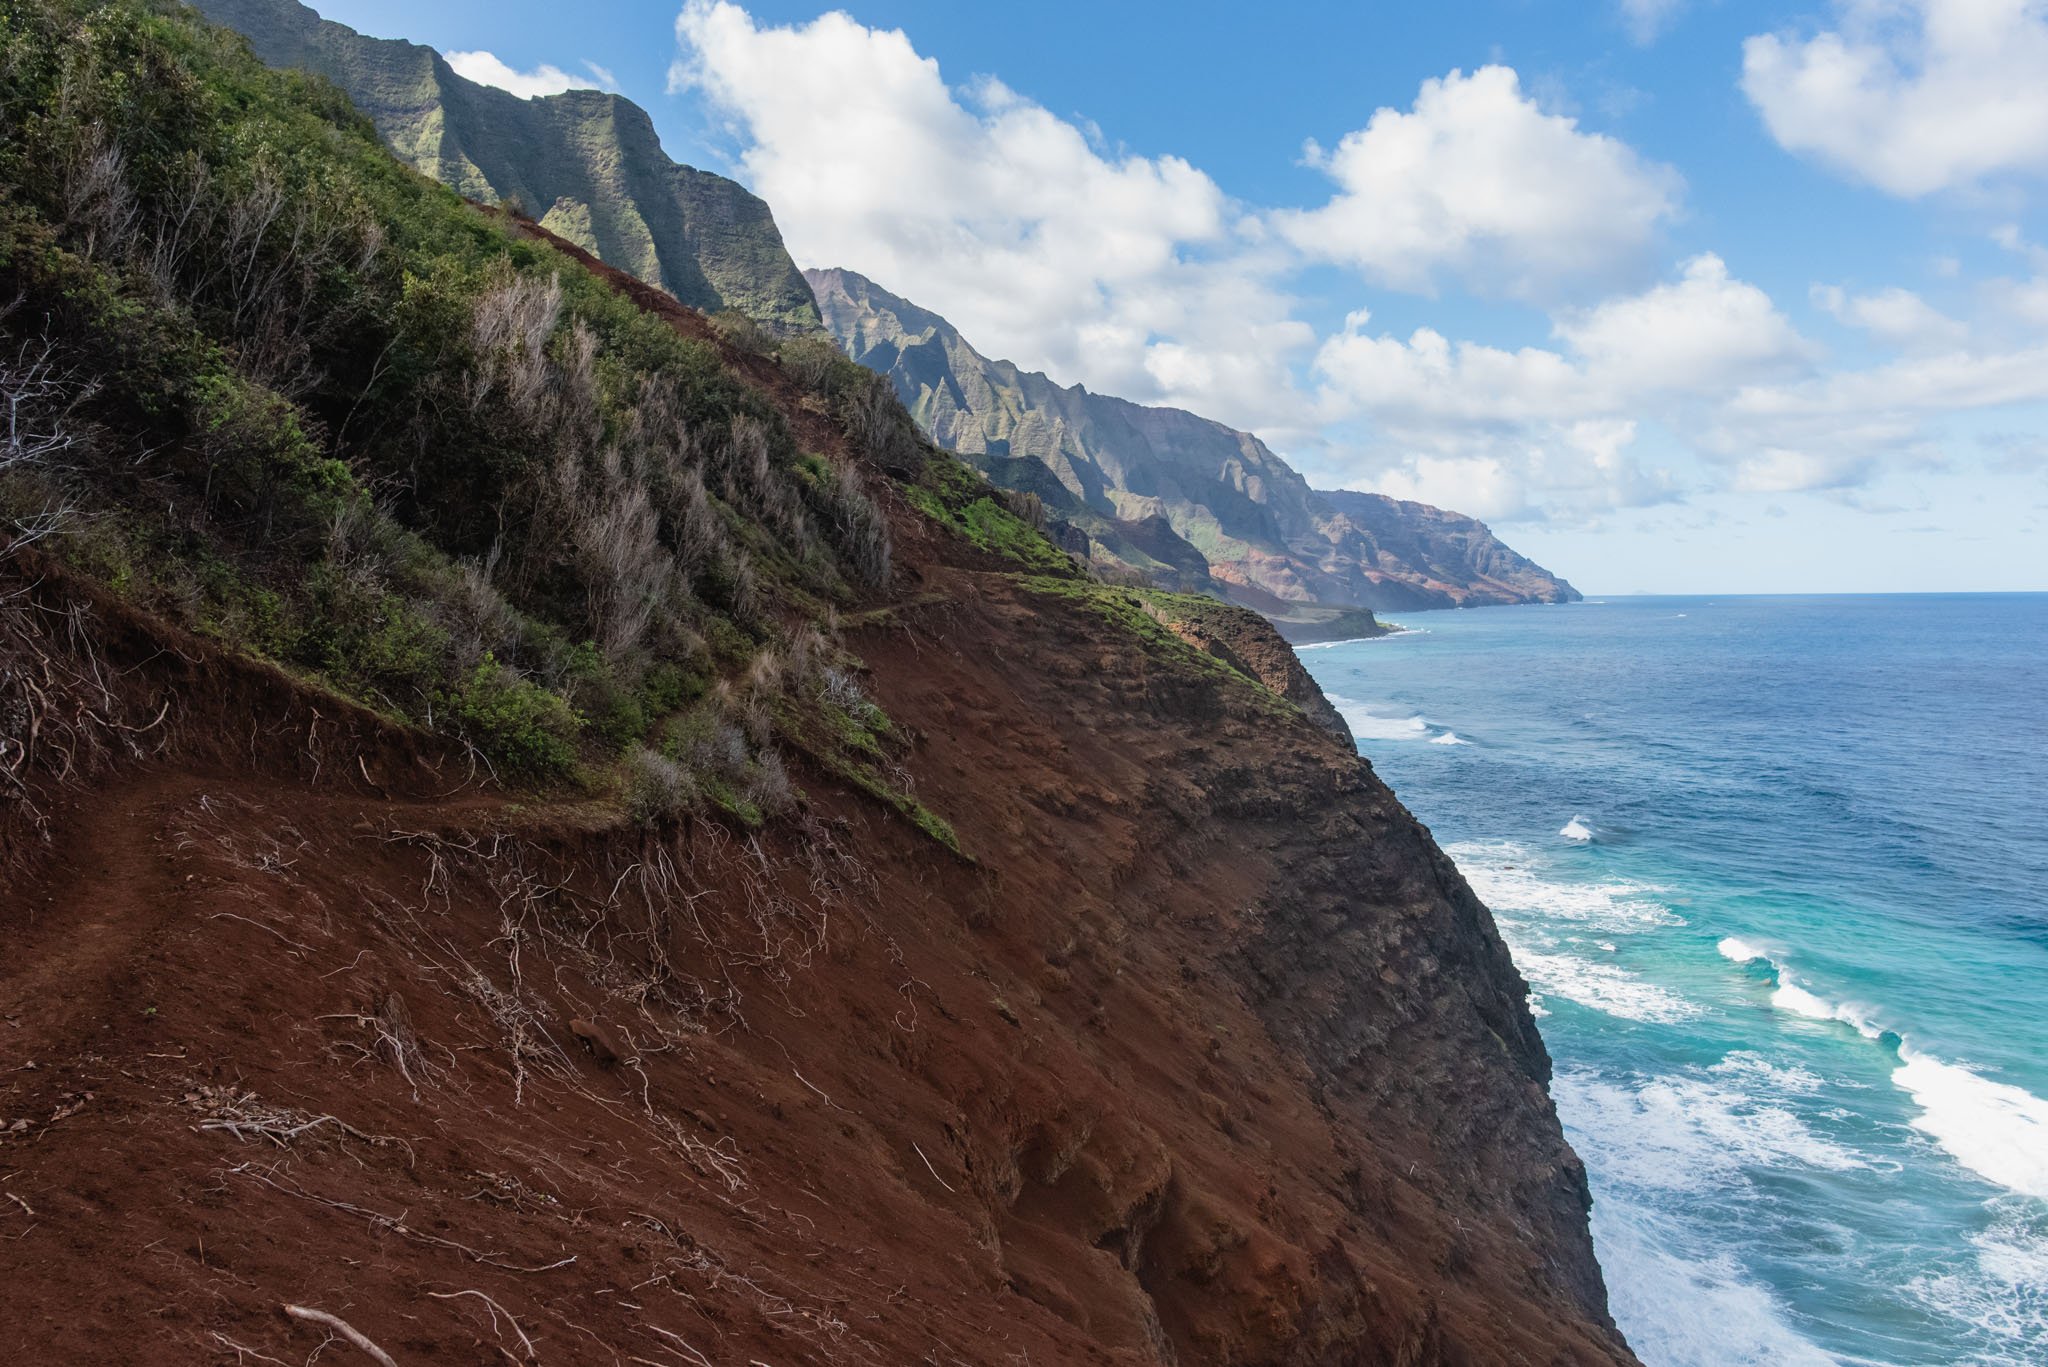
Unless you are a fast hiker or you can start very early, if you want to do one of the side trips, I would recommend doing it on the return hike when your pack is lighter, and you are already familiar with the trail. It's also safer to be finishing the hike late on the return trip, because the first few miles of the trail are in much better condition than the last few miles before Kalalau Beach.
Hanakoa Falls
Should I Camp at Hanakoa?
Hanakoa is located just after the 6 mile mark, and it is the only place to camp on the Kalalau Trail besides Kalalau Beach. Hanakoa is not a very desirable camp because there are no views and a lot of mosquitoes. I would only recommend camping at Hanakoa if you don’t have the time or energy to make it to Kalalau Beach in one day.
Your permit allows you to camp 1 night (each way) at Hanakoa, and you do not need to make this decision ahead of time. Since you will have been hiking for 6 miles when you get to Hanakoa, you should have a pretty good idea of your pace, and you can make an informed decision as to whether you need to stay a night at Hanakoa or can make it to Kalalau Beach by dark.
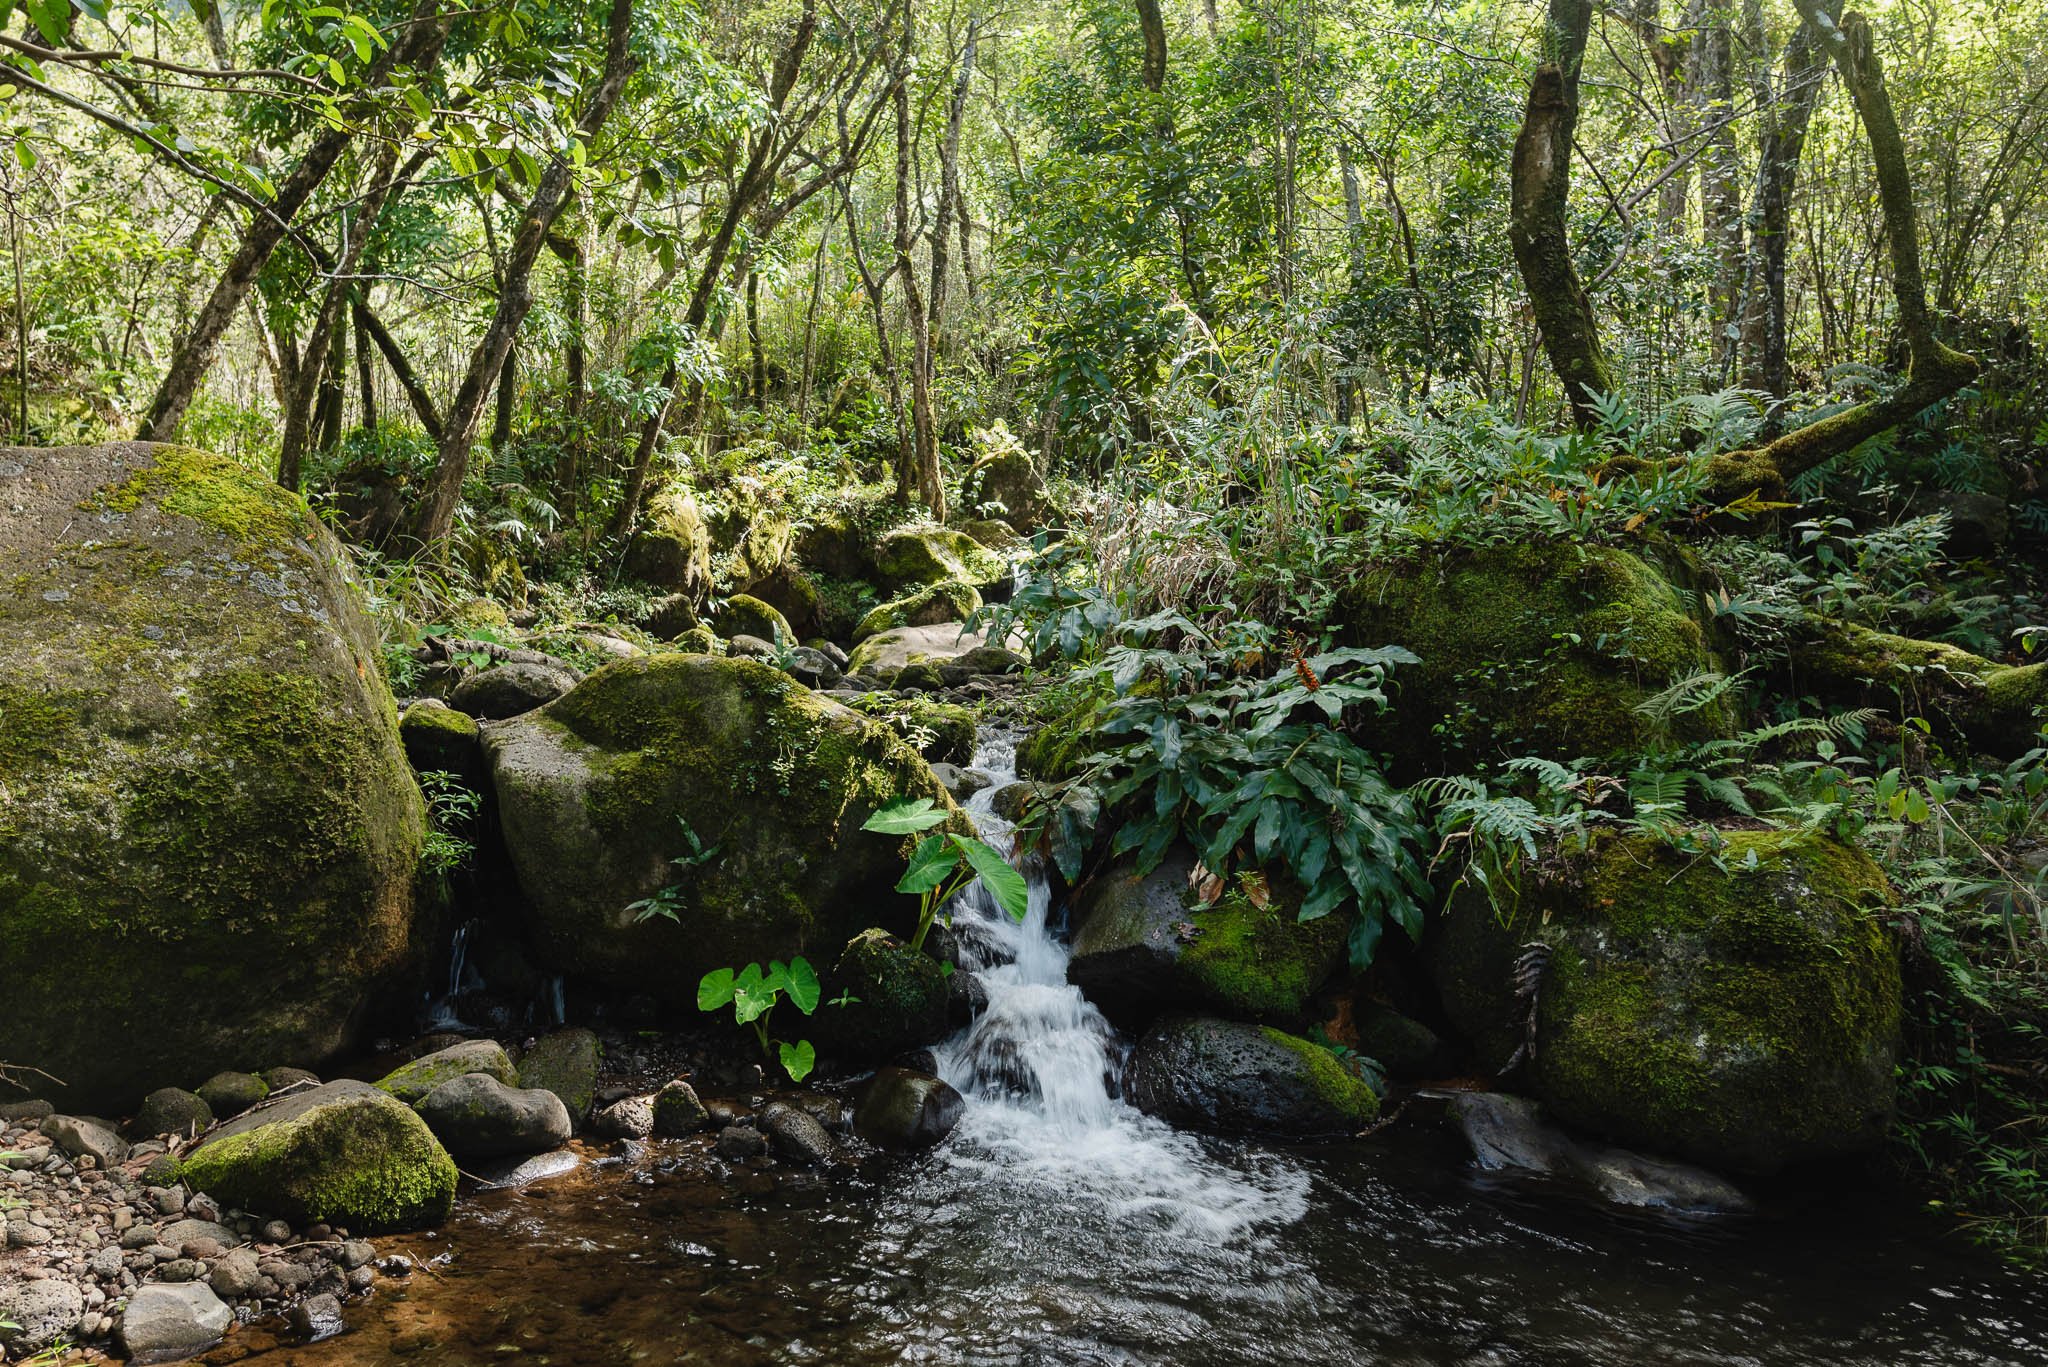
Hanakoa Stream
Permit Info
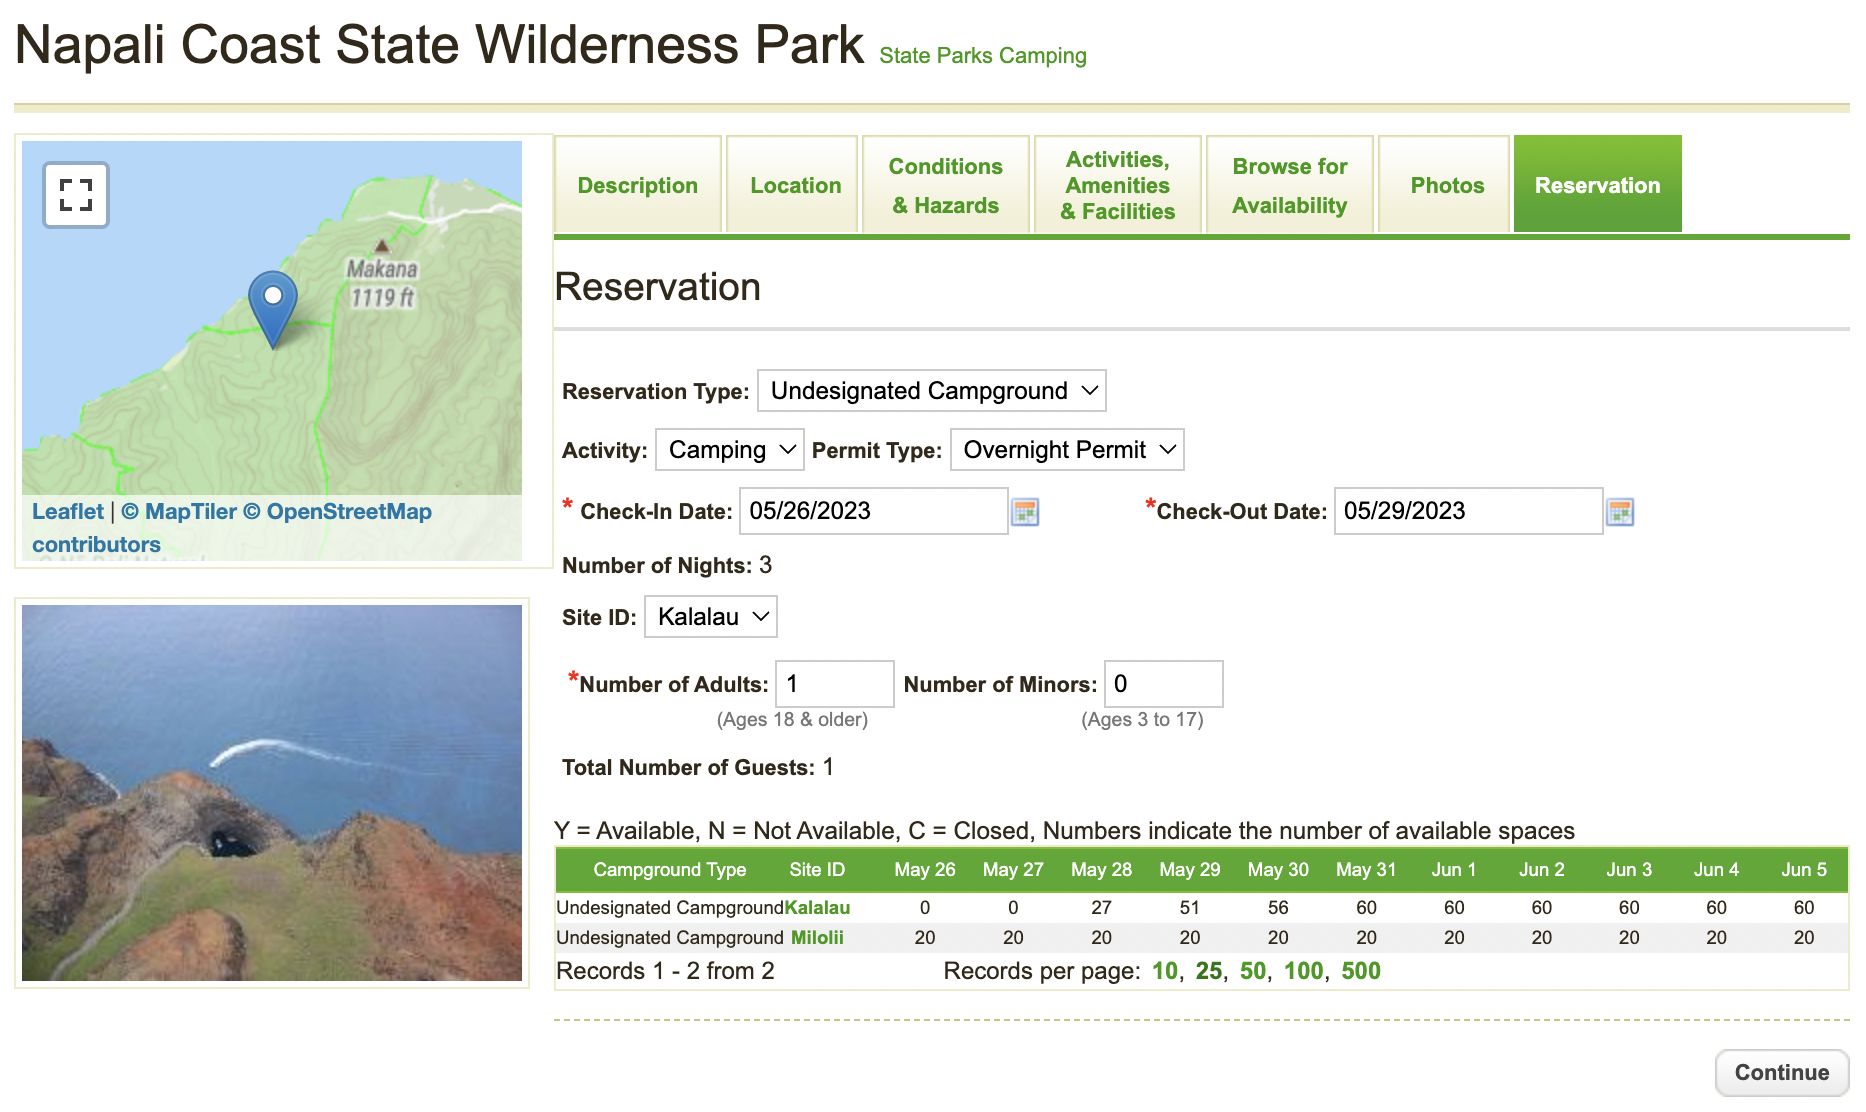
A Kalalau permit is required to hike on the Kalalau Trail beyond the Hanakapai'i Beach at mile 2, regardless of whether you are backpacking or not. This permit doubles as the Hāʻena State Park entry permit, which is where the trail begins. Permits allow staying at either Kalalau Beach or Hanakoa.
Getting permits might be the hardest part of making this trip happen, as the quota for non-Hawaii residents is 60 per day. Permits are available on a rolling basis 90 days in advance of the first day of your trip.
Spots fill almost immediately, especially during the busier summer season. I would recommend being online right when they become available. Even better, create an account and fill out all the information so you can click exactly when it opens, and be in a group call with whoever you're hiking with and have them do the same to increase your odds. Permits are online only and can be booked through camping.ehawaii.gov.
Sites are $35/person/night, and the maximum stay on the trail is 5 nights, which includes nights at Hanakoa if you choose to break up the 11-mile hike.
Kalalau Trail permit reservation form
Camping at Kalalau Beach
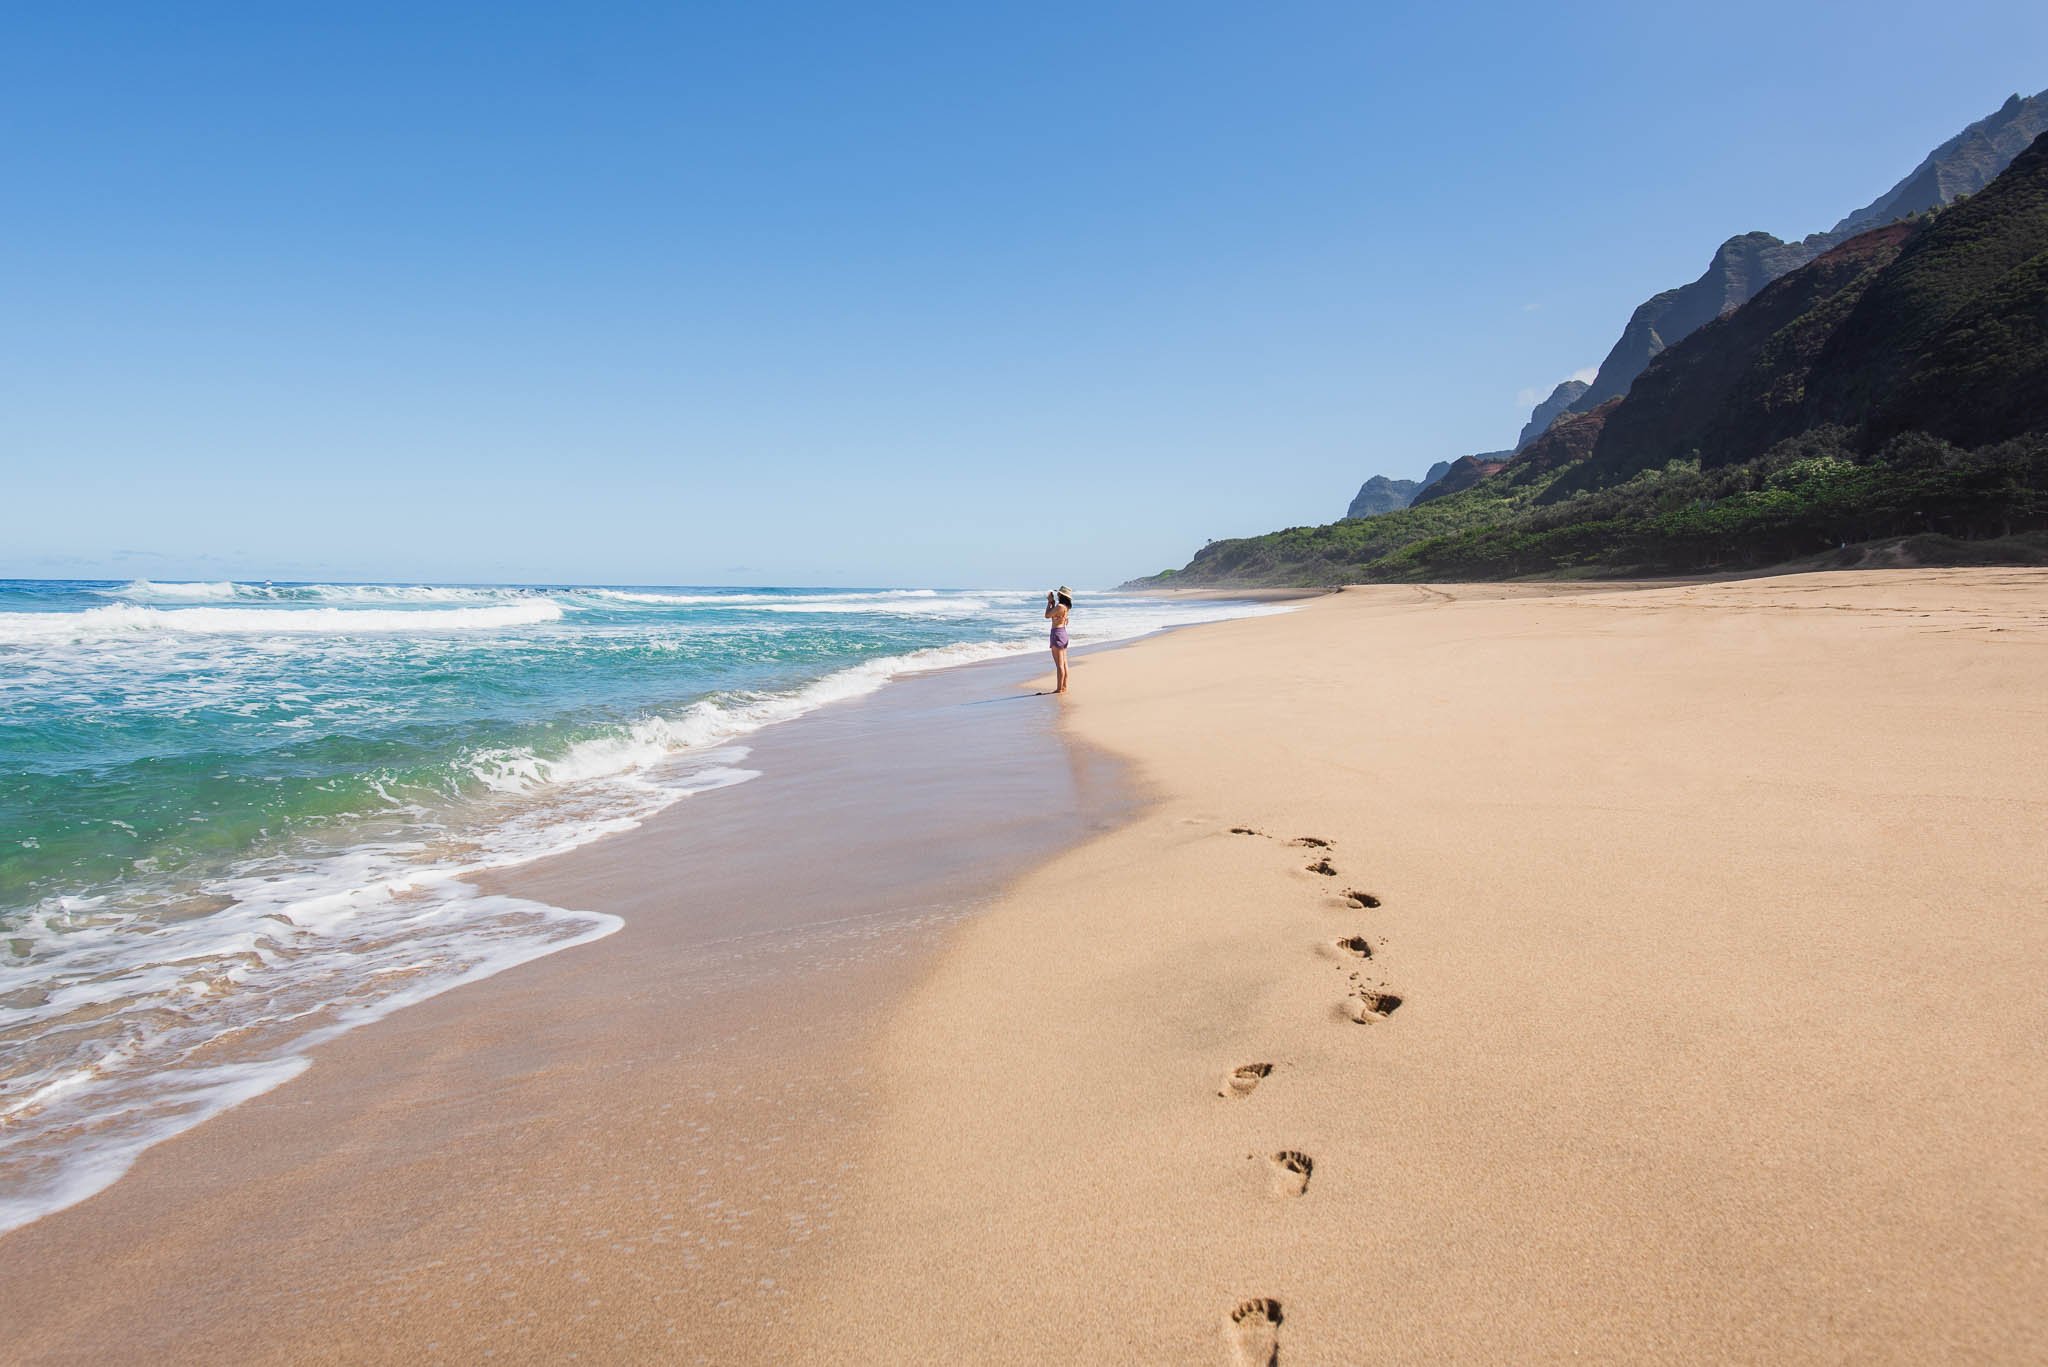
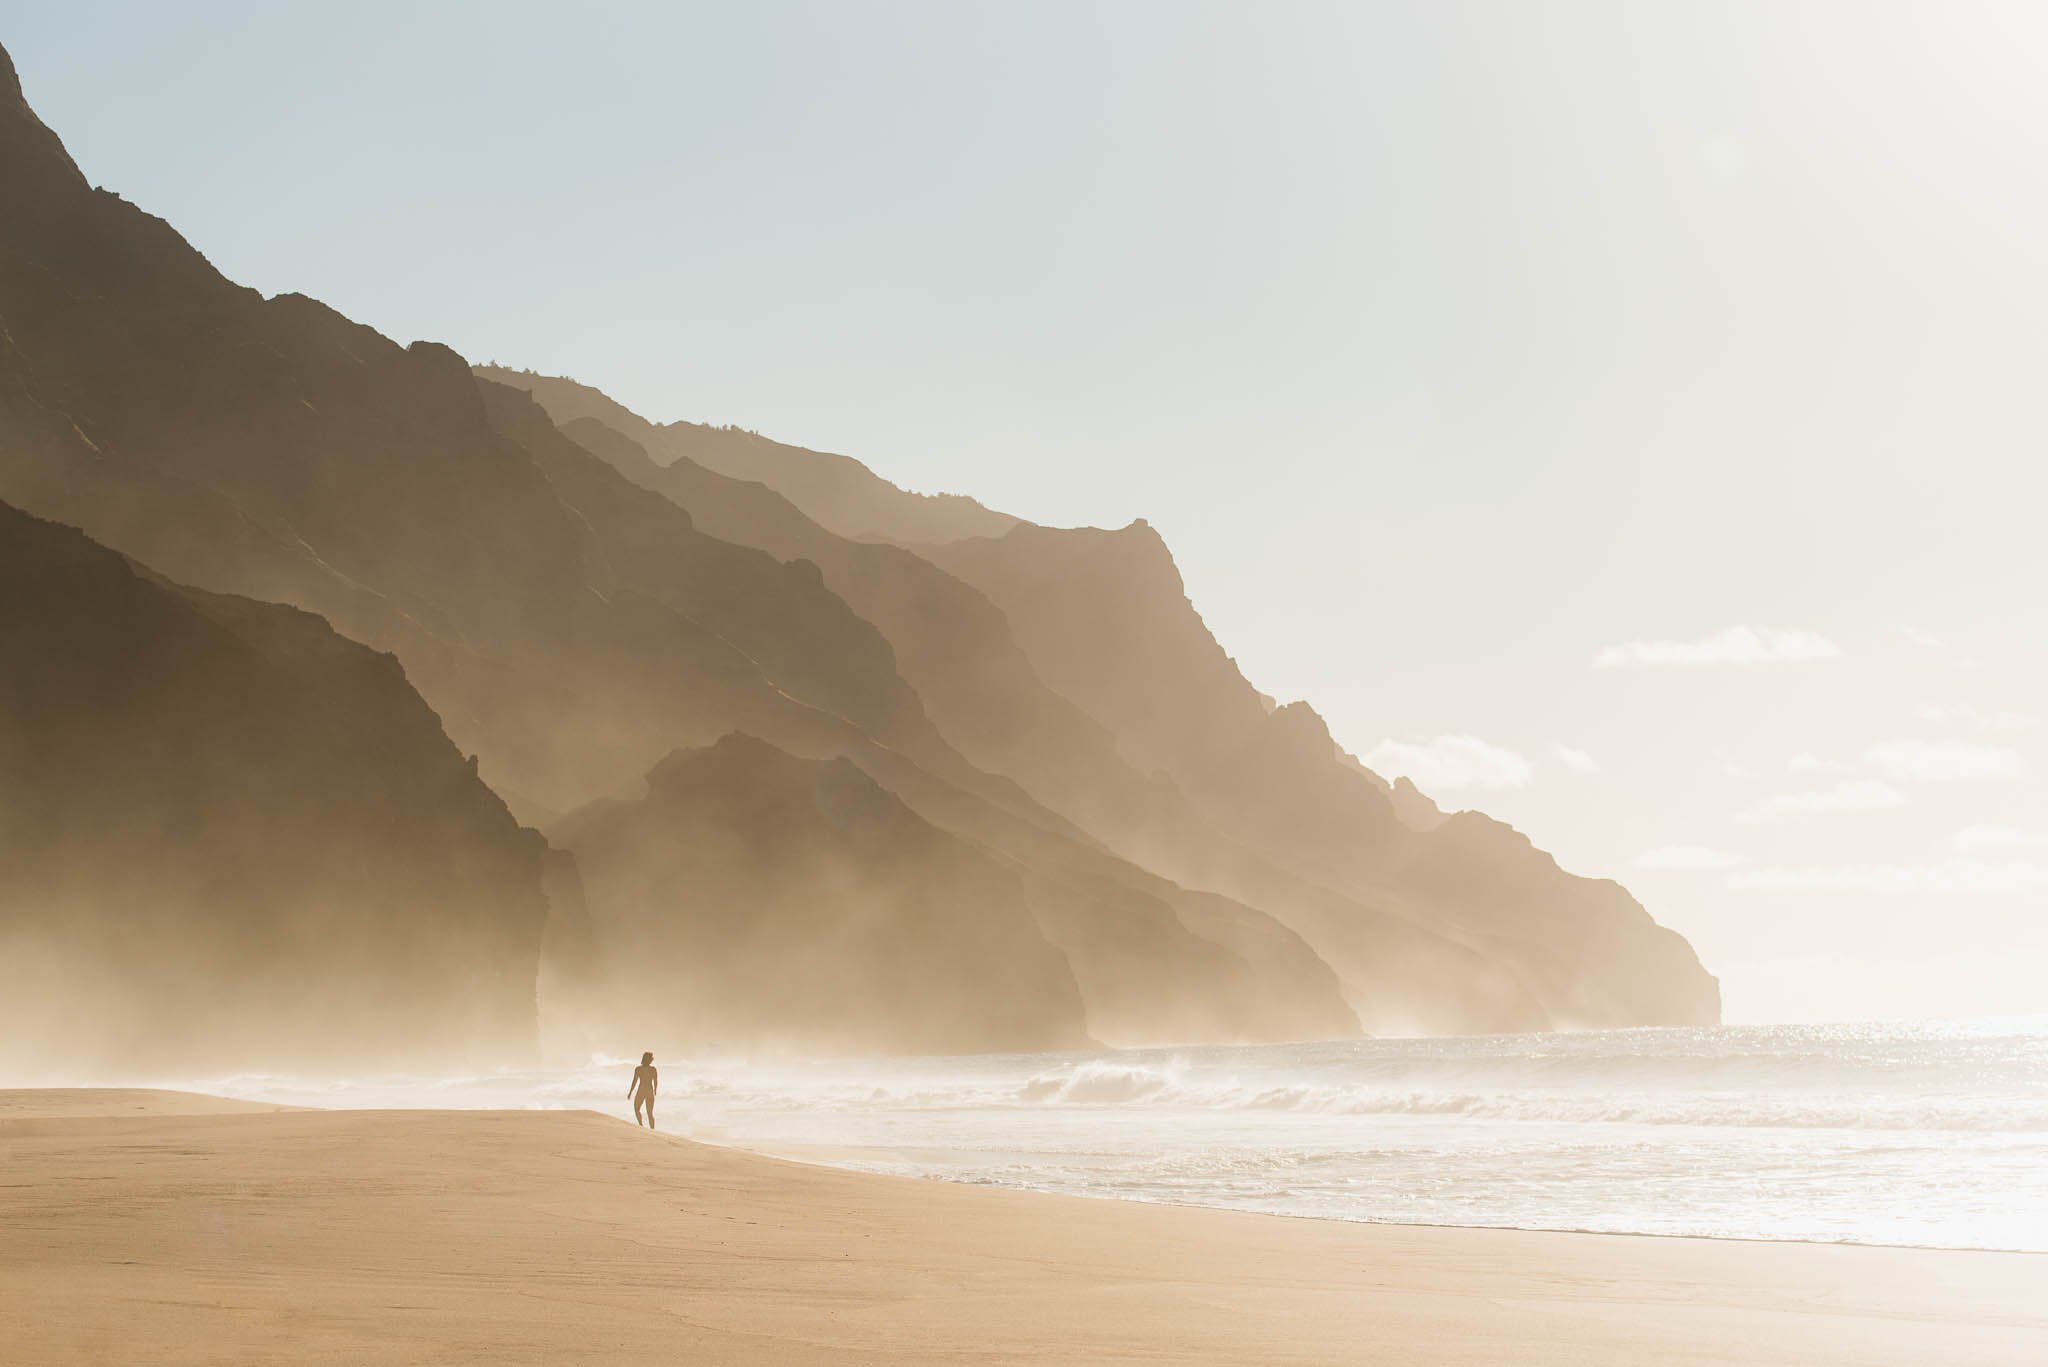
This is the ultimate reward for the grueling miles it took to get here. Beachside camping by one of the most pristine beaches I have ever seen is nothing short of paradise.
The Campground
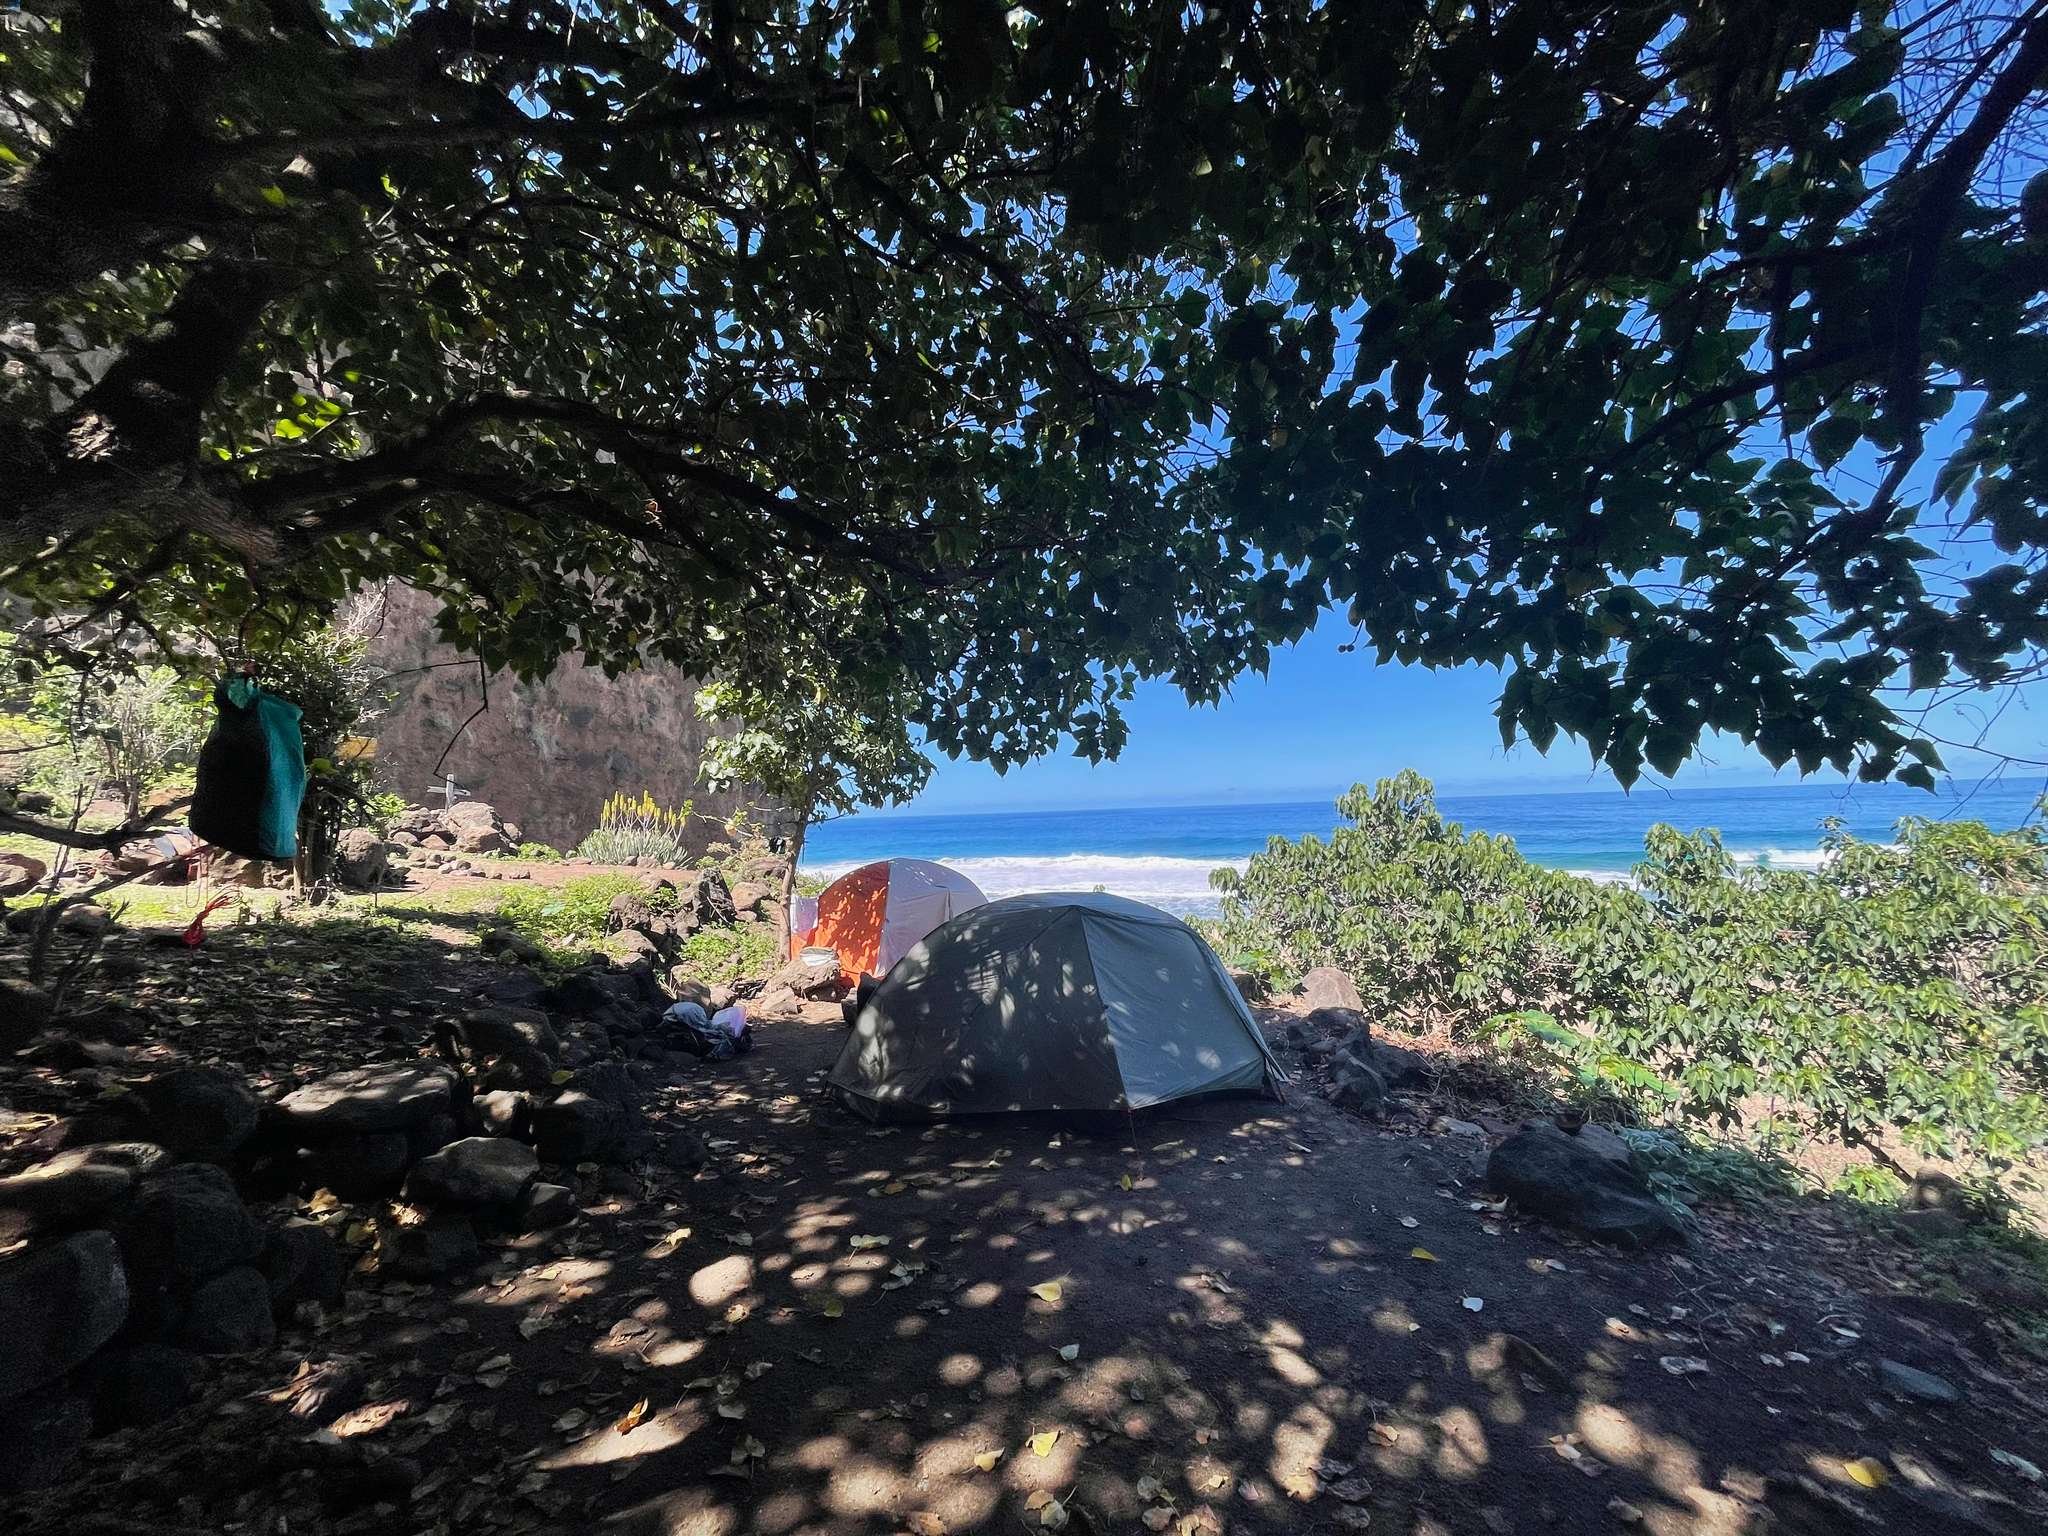
Our campsite at Kalalau Beach
Here are some quick facts about camping at Kalalau Beach:
There is a pit toilet located at the midpoint of Kalalau Beach. Bring your own toilet paper as the toilet often runs out.
The permit states: “Camping allowed on terraces immediately adjacent to Kalalau Beach and on sand beach above the high wash of waves.” In my opinion, camping on the treed terraces is better as you are sheltered from the sun and rain by trees. It gets very hot on the beach during the daytime, so a shaded campsite is much more comfortable. Most of them offer beach views right from your tent.
No campfires, even if you see existing fire rings. Please stick to using a camp stove.
No drinking water—stream water should be treated before drinking.
Freshwater access is at Kalalau Stream and at the waterfall at the far end of Kalalau Beach. The waterfall is nice to rinse off in.
Supervise your food, or hang it from a tree to prevent rodents from getting into your food.
For safety reasons, there is no camping by cliffs or in sea caves.
Pack it in, pack it out. This is a wilderness area, so leave no trace principles apply.
What to Do
The obvious answer: enjoy Kalalau Beach! But if you have multiple days or just want to do some more active exploration, here are a few ideas.
Explore Kalalau Valley: it’s filled with a network of unofficial trails that lead to various swimming holes and waterfalls. A more well-known one is the 2-mile one-way, End of Valley trail that leads to Big Pool, starting from the Kalalau Stream junction sign. Although the trail is marked on AllTrails, it’s not well-defined so route-finding may be required.
Walk to Kalalau Stream and take a dip. Follow the stream out to where it meets the ocean for spectacular views of the ridges behind.
In the summer months, approximately May through September, explore the fantastic sea caves that become accessible due to the lower surf.
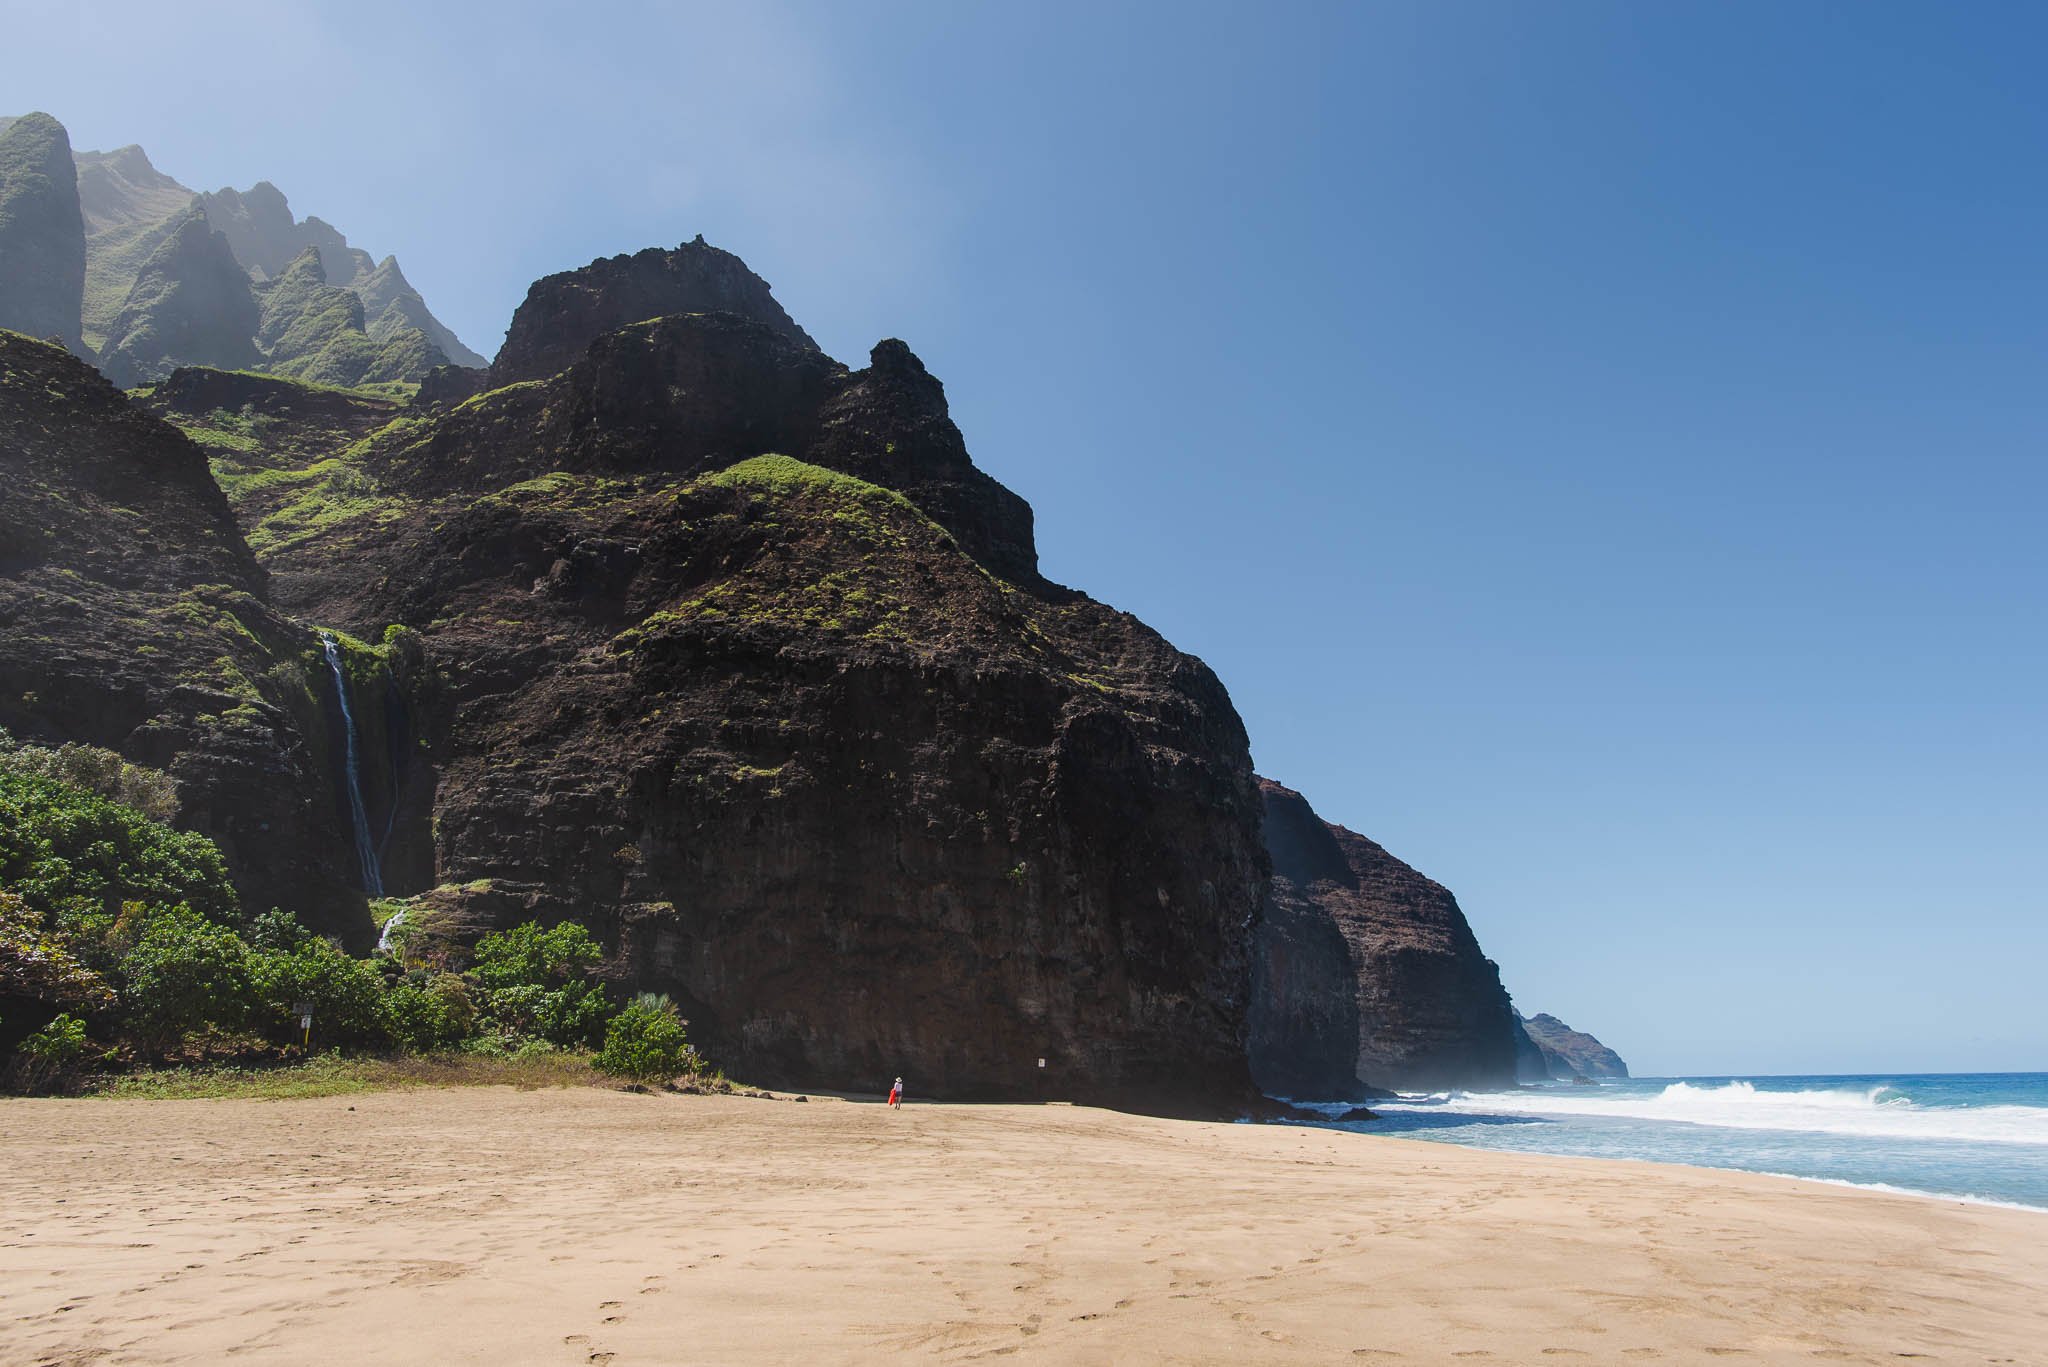
Kalalau Beach and the ridges of the Napali Coast in its backdrop
Getting to the Trailhead
The trailhead is located at Ke'e Beach in Hāʻena State Park (~30 minutes from Princeville, ~1:15 hrs from Lihue). Driving to the Kalalau Trail is not complicated, but parking can be.
The closest parking lot is called the Ke'e Beach Parking Overflow Lot on Google Maps. It is a 0.3 mile walk from the trailhead and requires advance reservations. This is the most hassle-free option by far. We didn't have to stress about estimating when we'd be done with the hike to be picked up, or rushing to make the last shuttle departure.
Alternative options are taking a shuttle, or pre-arranging a pickup and drop-off with a driver.
Parking at the Trailhead
Once your permit is secured, you can use your permit number in order to book overnight parking through GoHaena.
Parking is $20/day at the time of writing this post. Spots are very limited, so book parking as soon as you get your permit. Also, leaving a car full of luggage at a trailhead is never a good idea. To safeguard against car break-ins, we stored our luggage with our hotel when we checked out so that we left nothing in our car.
Book a Driver
This is the second-best option, and you will get dropped off at the same parking lot mentioned above. The ride must be pre-arranged as there is no service at the trailhead. I don't have much information on the cost or the drivers available since I didn't use this option, but I saw many people looking for rides in the Kalalau Facebook Group, so I would try inquiring there.
Shuttle
Shuttle boarding is at Waipā Park & Ride. Since overnight parking is not allowed here, you must either get dropped off or find parking elsewhere in Hanalei and walk to the stop, so the shuttle is a last resort for backpackers.
At a glance: (more info on the GoHaena website)
$35/person round-trip
6:30 AM (first departure) - 5:40 PM (last pickup)
Runs every 20 minutes; 30 minute ride
Kalalau Trail Overview
First glimpse of Kalalau Beach from Red Hill
Hiking from the trailhead to Kalalau Beach plus the mile-long walk along Kalalau Beach is a 12-mile day, and can take anywhere from 7-10+ hours. The trail can be divided into these checkpoints:
Mile 0: Ke'e Beach Trailhead
Begin your first major climb to sweeping ocean views, before descending all the way back down to the beach. The segment to Hanakapai'i is wide and highly-trafficked as it is a popular day-hike.
Mile 2: Hanakapai'i Beach
When you reach Hanakapai'i Beach, cross Hanakapai'i Stream to continue on the Kalalau Trail. Miles 2-6 are pretty forested, and it can get monotonous. The trail climbs to over 700 feet before descending once again into Hanakoa Valley.
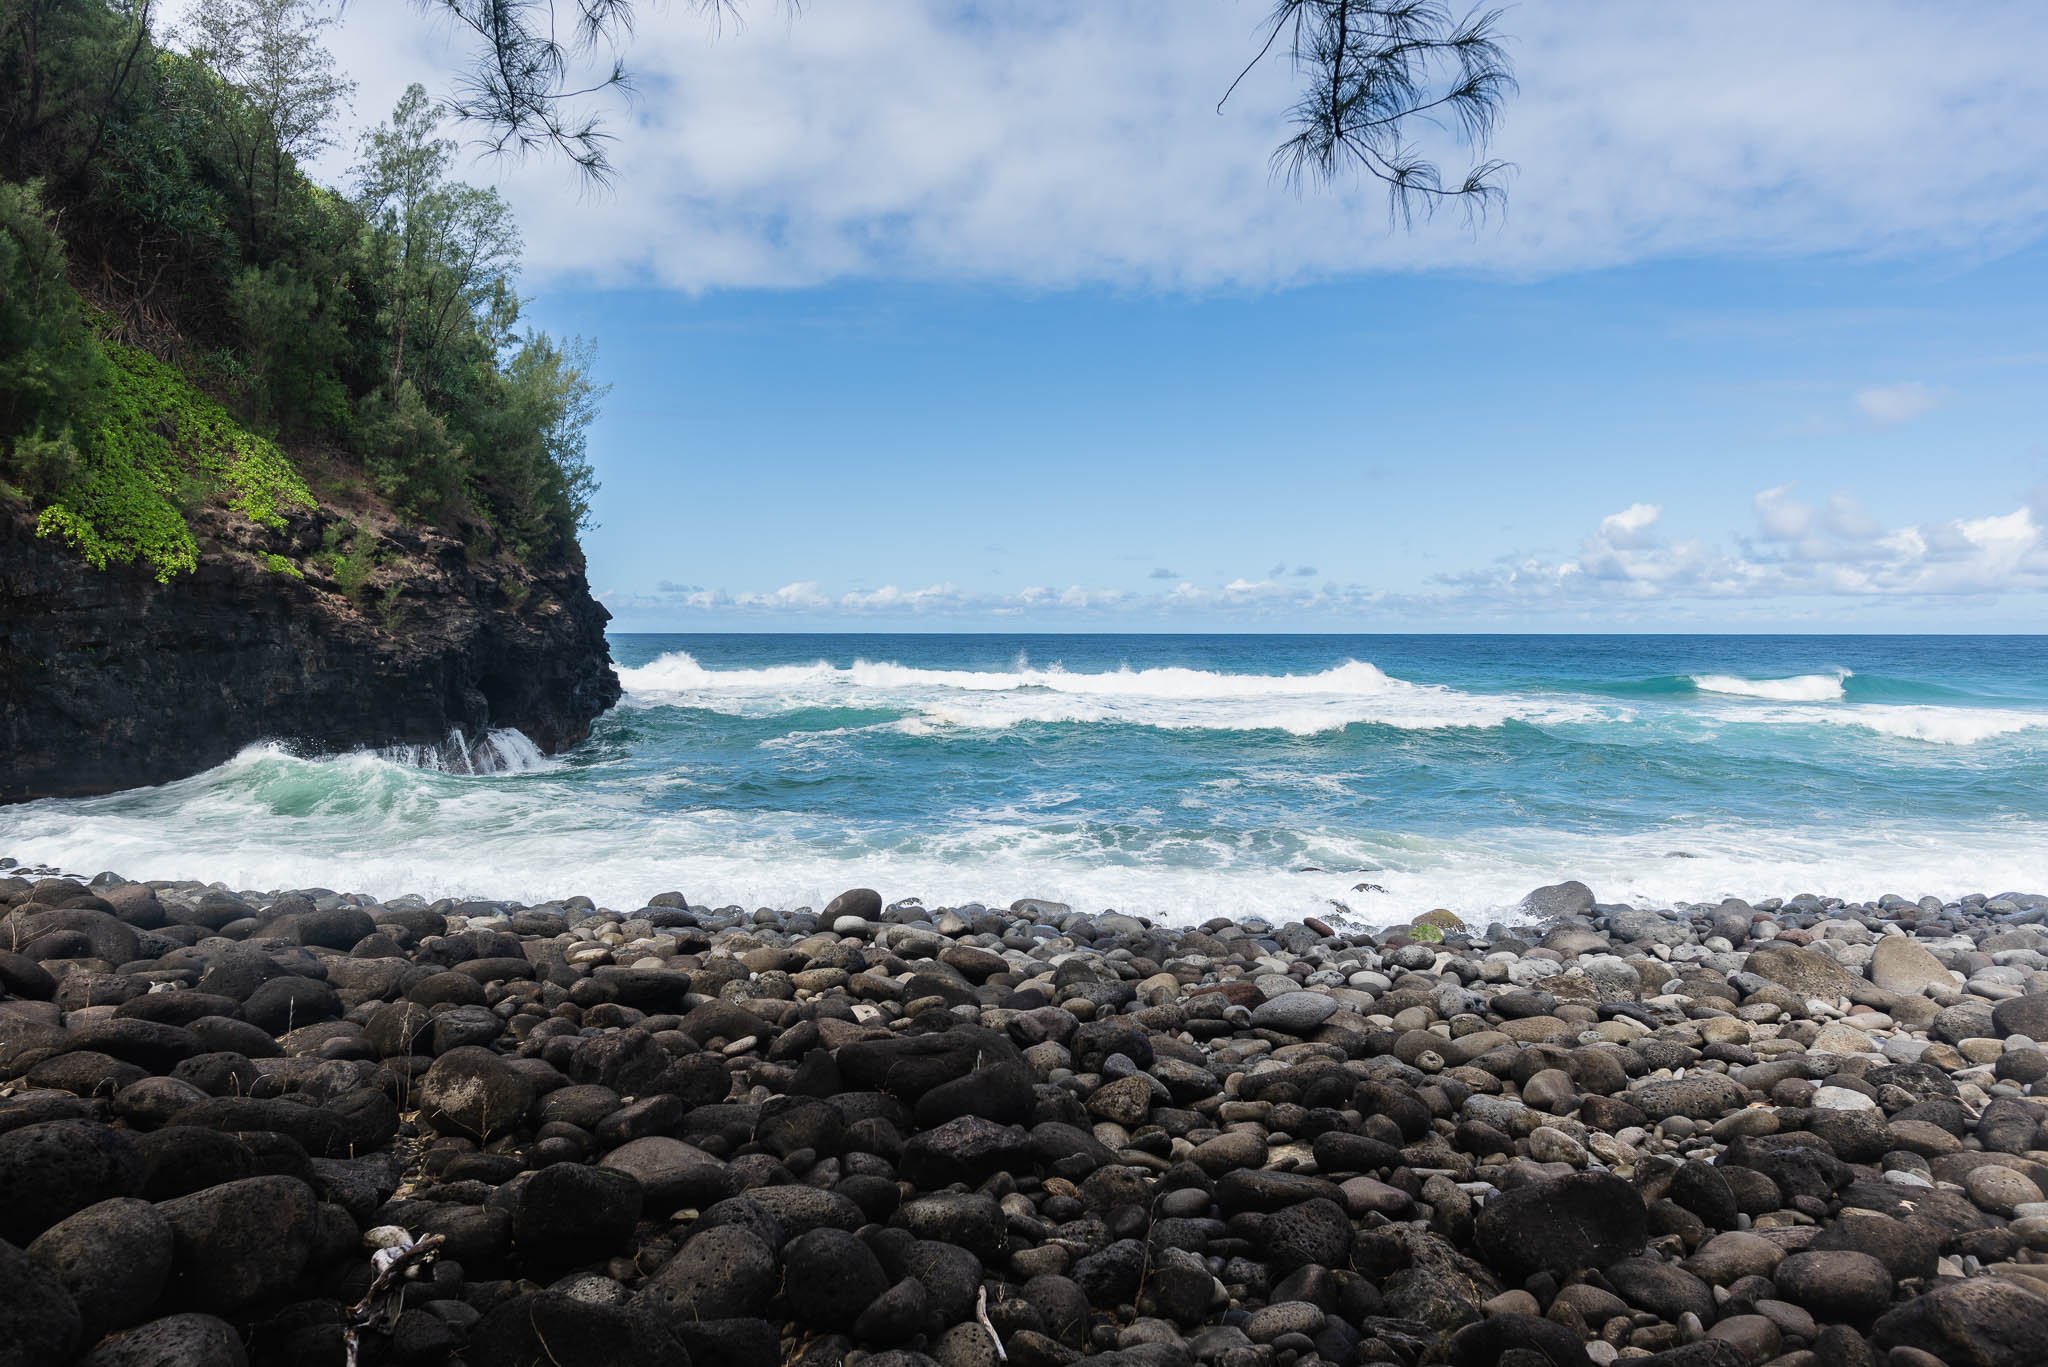
Hanakapai'i Beach
Mile 6: Hanakoa
Camping is available here and the water source is Hanakoa Stream, which is the next required stream crossing. Since it’s in a forested valley, the campsites have no view and can be buggy.
Mile 7: Crawler's Ledge
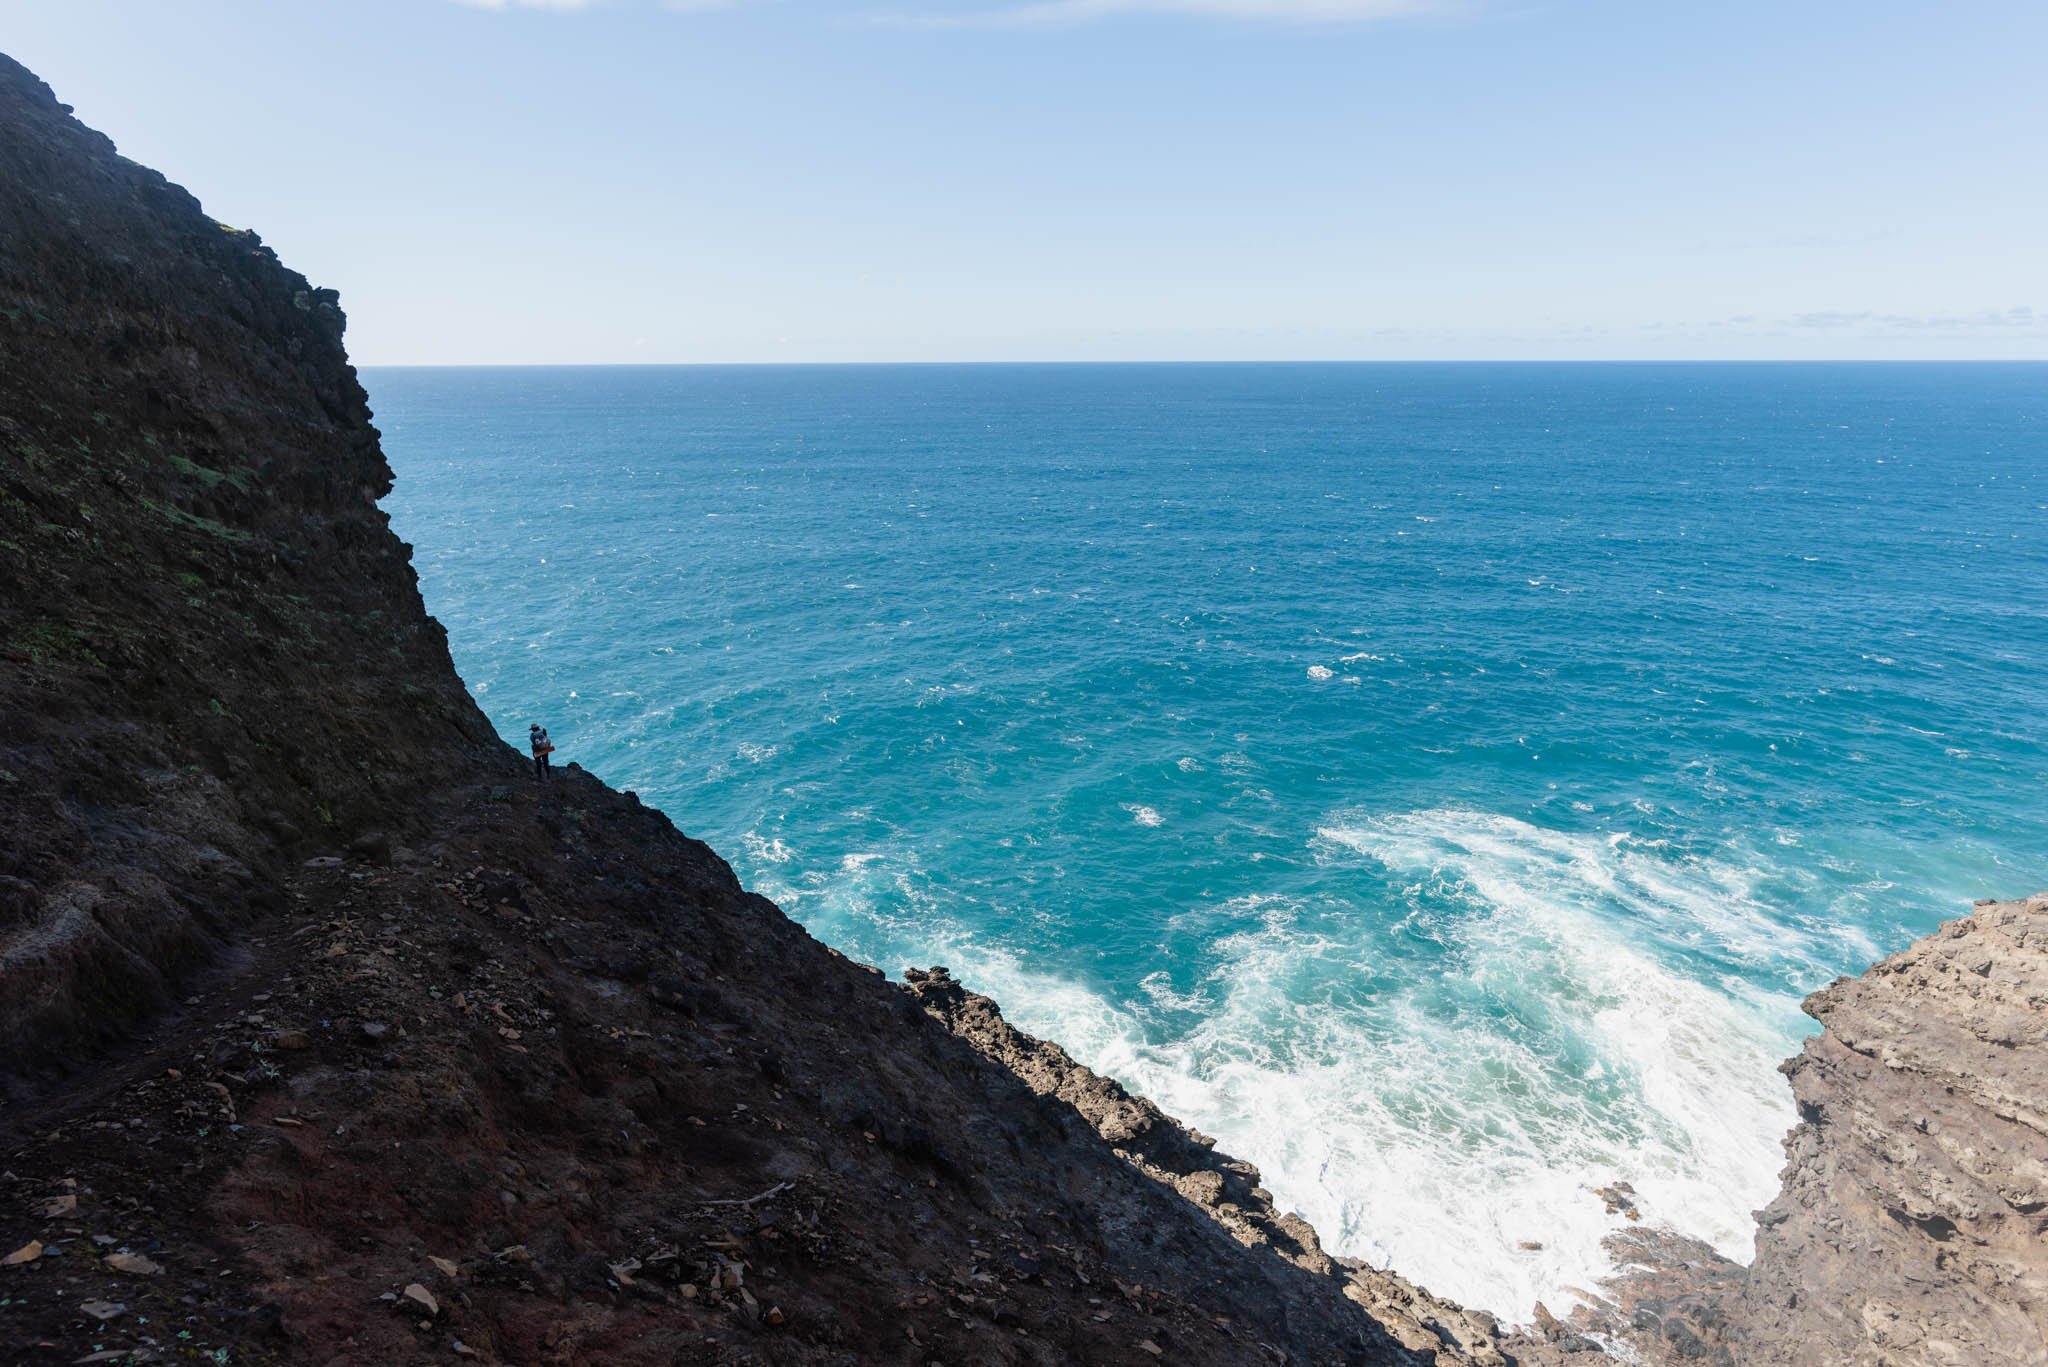
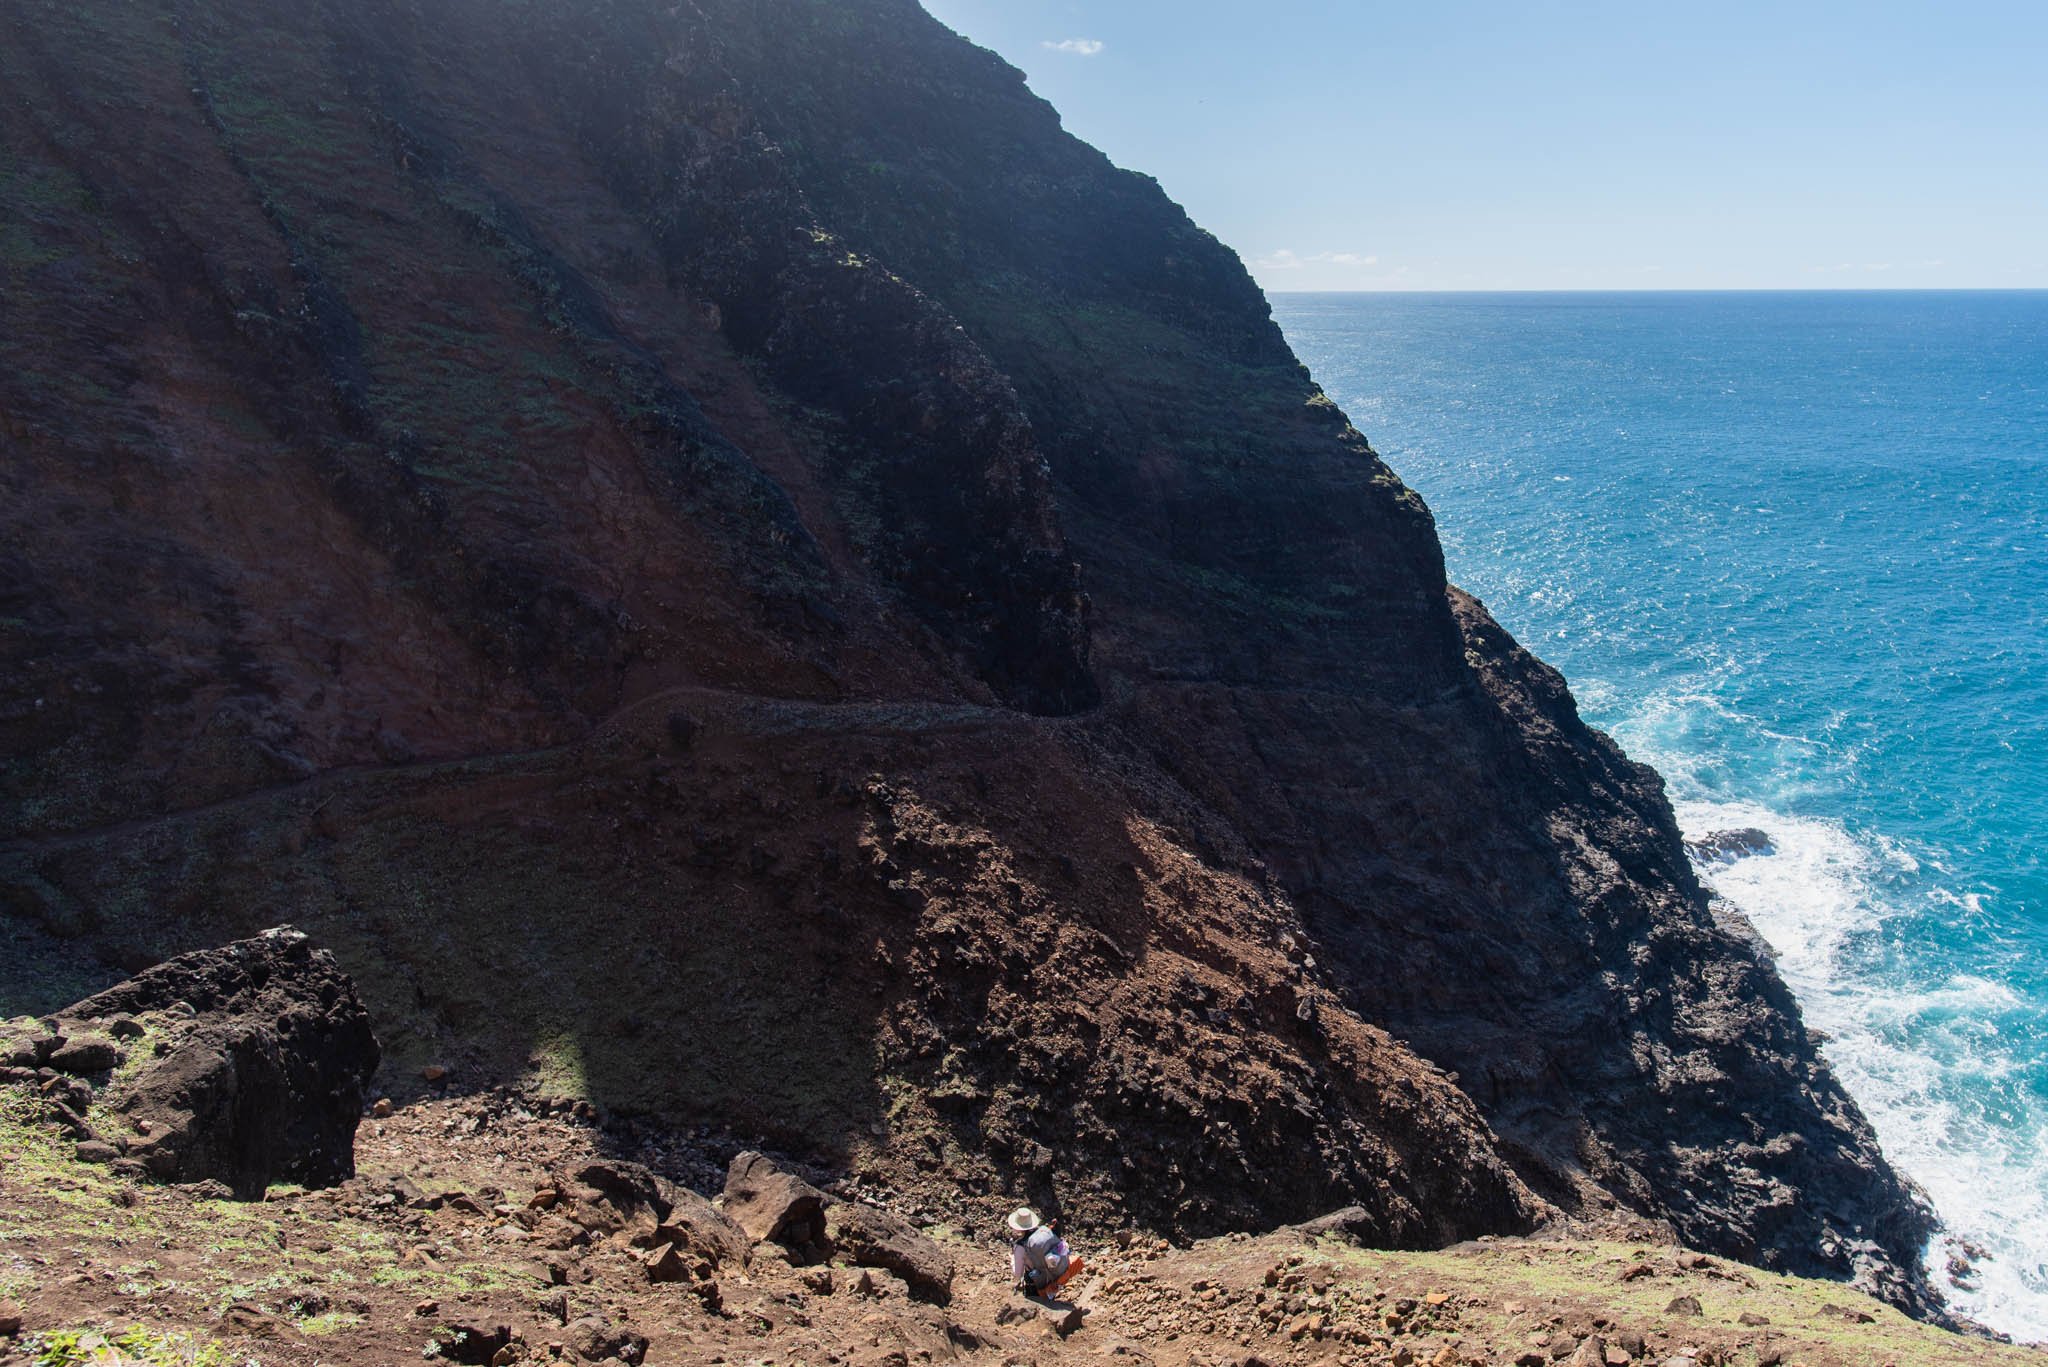
Shortly after Hanakoa, you will reach Crawler's Ledge, the famously narrow section carved into the side of an exposed cliff just 200 feet above the ocean. Don’t let the name intimidate you. The trail is plenty wide enough for one person to walk through safely. This section might be difficult for you if you have a fear of heights though. After Crawler's Ledge, the trail opens up and ocean views are more frequent. The trail has many ups and downs, with the last and steepest being down Red Hill. One final stream crossing, Kalalau Stream, and you're at the beach.
Crawler’s Ledge
Mile 11: Beginning of Kalalau Beach
Campsites are spread out all along the mile-long beach, so take your pick. I believe water is only available at the waterfall at the end of the beach, or if you're near the beginning of the beach, Kalalau Stream may be closer.
Mile 12: End of Kalalau Beach
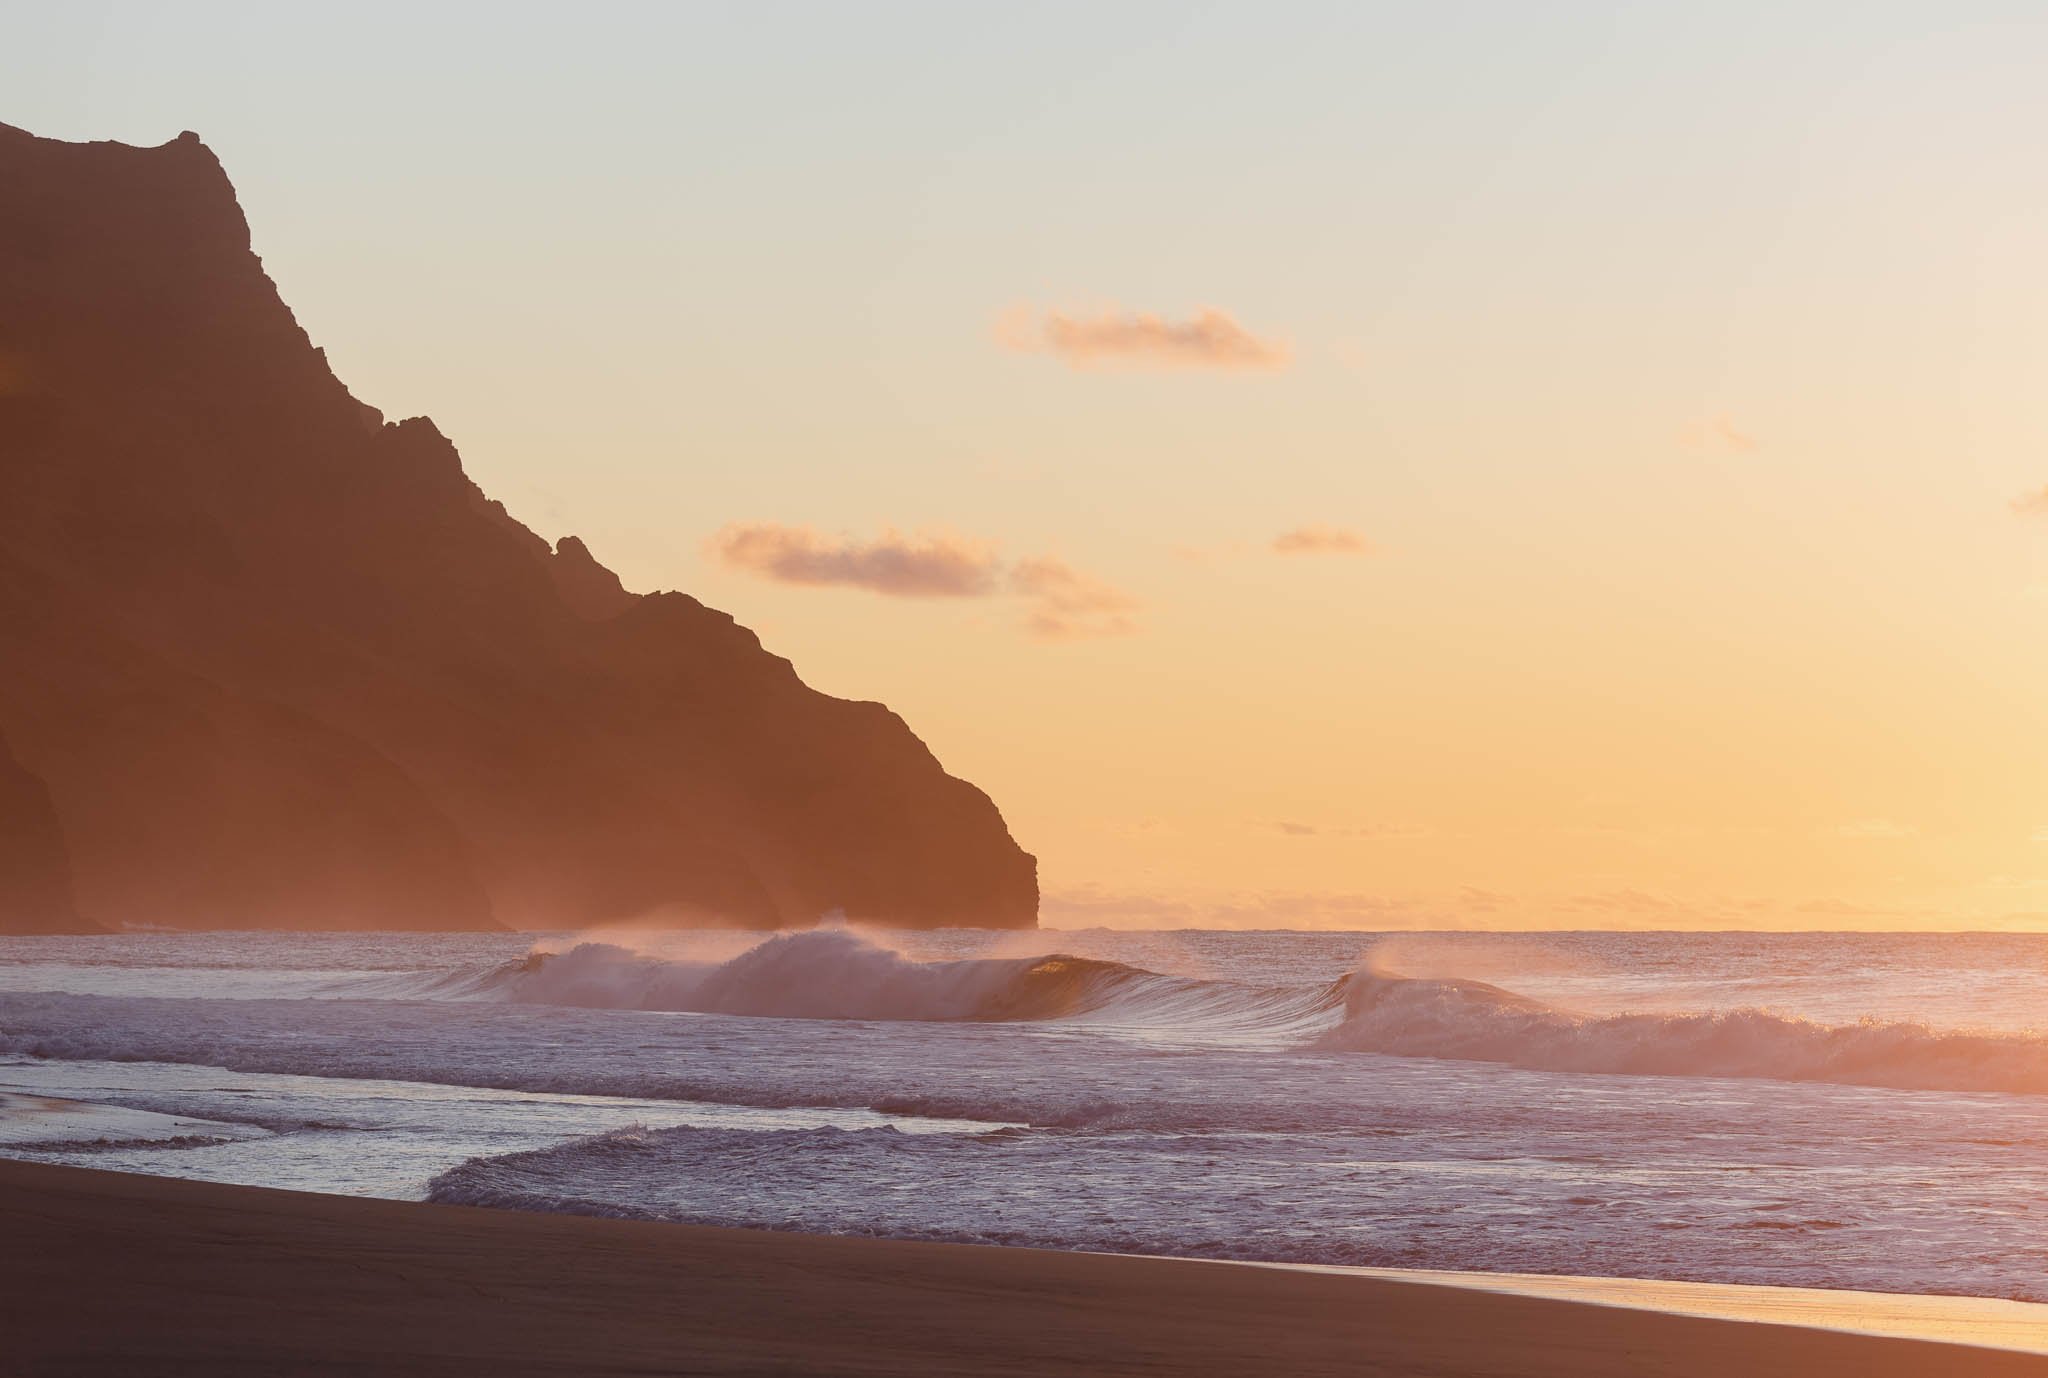
Sunset at Kalalau Beach
Checking Trail Conditions
The weather in Kauai is unpredictable, which means trail conditions are likewise unpredictable. Here are just some of the worrisome conditions that you might encounter on your Kalalau trail hike:
Mud
Heavy rain
High stream levels that make fording difficult or impossible
Dangerous surf and rip currents
Loose dirt and washouts
Overgrown trails
Sometimes, periods of heavy rain can lead to temporary trail closures. To stay on top of this, here are some good places to check for recent trail conditions:
Kalalau Trail on DLNR maintained by the Division of State Parks on Hawaii.gov
Kalalau Facebook Group has a wealth of recent trip reports. Excellent resource for tips, getting questions answered, and photos.
Narrow trails and steep dropoffs are a normal sight on the Kalalau Trail
What to Bring
Check out my gear page for my full list of gear recommendations. Here, I will mostly focus on how I packed differently for this trip.
Clothing
Clothing choices are largely personal preference, but one thing I'd recommend is to bring clothes that dry quickly! From the heat and humidity to the rain, your clothes will almost certainly get wet at some point.
Top: The tried and true base layer, mid-layer, puffy system is overkill on the Kalalau Trail. Instead, I brought a quarter-zip fleece, the Patagonia Micro-D 1/4 zip, as my only insulation and wore a long sleeve for sun protection in the daytime (I like the lightweight and breathable sun hoody, the Patagonia Capilene Cool Daily Hoody). If I did this trip again, I would opt for a warmer insulating layer if not bringing a sleeping bag.
Bottom: I wore shorts which doubled as my beach-day clothes, but the overgrown areas of the trail can be a bit uncomfortable with exposed legs.
Swimsuit: I brought one, but I know true ultra-lighters would swim in their hiking clothes (…or nothing).
Sun protection: Essential for chilling at the beach and the exposed parts of the hike. I would recommend a hat like the Tilley LTM6 Airflo Broad Brim Hat or REI Co-Op On the Trail Cap, sunglasses, and long sleeves.
Rain protection: Honestly, I did not even bring rain gear as I feel like being wet is mostly a concern when temperatures are lower. If you do bring rain gear, I’d bring something lightweight or even just a poncho because otherwise the humidity can make it uncomfortable.
Hiking Gear
Footwear: Between the mud, rain, and stream-crossings, your shoes will definitely be wet. Breathable, non-waterproof shoes with good traction are popular, like these Brooks Cascadia trail-runners. I stuck with my usual Gore-Tex hiking shoes (the Salomon Ultras) though and didn’t mind them.
Hiking sticks: I use these affordable and lightweight ones by Cascade Mountain Tech. I always hike with hiking sticks, but even if you're a hiking-stick hater, I strongly recommend them for this trip. They are incredibly useful for balance during stream crossings, provide another point of traction in sloped, crumbly sections where there's a large consequence if you slip, and take some of the stress off your knees in the steep ascents and descents.
Hiking sticks are essential on steep, slippery sections like the one before Crawler’s Ledge.
Sleeping Bag or Not?
For a long time, I was on the fence about whether to bring my sleeping bag. Many other hikers had said they had only brought a light blanket or a sleeping bag liner since temperatures never fall below the 60s.
I ended up bringing a Sea to Summit sleeping bag liner, but I was thankful for my emergency blanket when I woke up slightly cold in the middle of the night. It's worth noting that mornings and evenings can be a bit chilly, particularly if there's a breeze and you're not moving around. If I did this trip again, I would bring a warmer jacket to sleep in if not bringing a sleeping bag.
Also, take into consideration what kind of shelter setup you will have. For example, hammocks and tarps will be slightly less warm than an enclosed tent.
Water
Water access was abundant, with dozens of small streams in addition to the major streams marked on the map. The volume of these streams depend on recent rainfall. I carried between half a liter to a liter at any given time, and just topped up my go-to backpacking filter, the 1L Katadyn Befree water filter.
Other Items
A way to hang your food: There have been numerous accounts of rodents at the Kalalau Beach campground, and we also spotted goats during our stay. Leaving your food unattended could result in it being stolen by animals, or your gear being gnawed through in an attempt to reach the food. A simple solution is to bring an ultralight drybag, (I use an Osprey one that weighs just 1 oz), and cordage to hang your food from the trees whenever sleeping or away from camp. The cordage also comes in handy for hanging clothes to dry!
GPS and trail map: Despite being a well-established trail with minimal junctions, it is surprisingly easy to lose the trail near stream crossings. Misleading footpaths are created because people wander off to refill water and search for the best place to cross, and subsequent hikers mistakenly follow these tracks and reinforce them further. A GPS (I use AllTrails on my phone) was essential to help us find our way back to the trail when we got lost around mile 4, and after that, we made sure to keep checking our location periodically.
Camp shoes: I recommend these Teva sandals or Crocs, which are made of foam and don’t absorb water. I don't bring camp shoes on every trip, but for this trip I'm definitely glad I had them. After all, the whole point is to spend a lot of time at camp! Plus the sand can get really hot in the afternoon and become uncomfortable to walk on barefoot. Even though sandals are generally heavier, I prefer them over flip-flops. Sandals are more secure for walking around and can be used during stream crossings. I also like them since I keep my socks on at camp as it gets cold after dark.
Bug repellent: There is mild mosquito pressure throughout the trail. They are more concentrated in areas with streams.
Luxuries for your beach days: This is completely up to you, but if you anticipate spending a lot of time lounging at the beach, consider bringing entertainment such as a book, cards, a frisbee, etc. I also brought a foam sleeping pad over an inflatable one on this trip. I used it to sit on at my campsite and on the sand.
Once You've Arrived in Kauai
Hopefully you arrived in Kauai with at least one day to spare before you start your backpacking trip. These are a few last-minute things you’ll probably want to do while on the island.
Approaching Crawler’s Ledge at mile 7
Finding Fuel Canisters
You can't fly with fuel canisters, and there is sadly no REI in Kauai, so you will need to search for these once you arrive. We got unlucky with these being out of stock at Ace Hardware, but here are some places you can try to find it:
Pedal & Paddle in Hanalei
Kayak Kauai in Kapa'a
Ace Hardware in Princeville
Ace Hardware in Lihue
As a last resort, you can try asking outbound hikers for their partially used canisters, or asking in the Kalalau Facebook Group. Most people will have plenty leftover given that 8 oz canisters are the most common size sold on the island.
Check the Weather
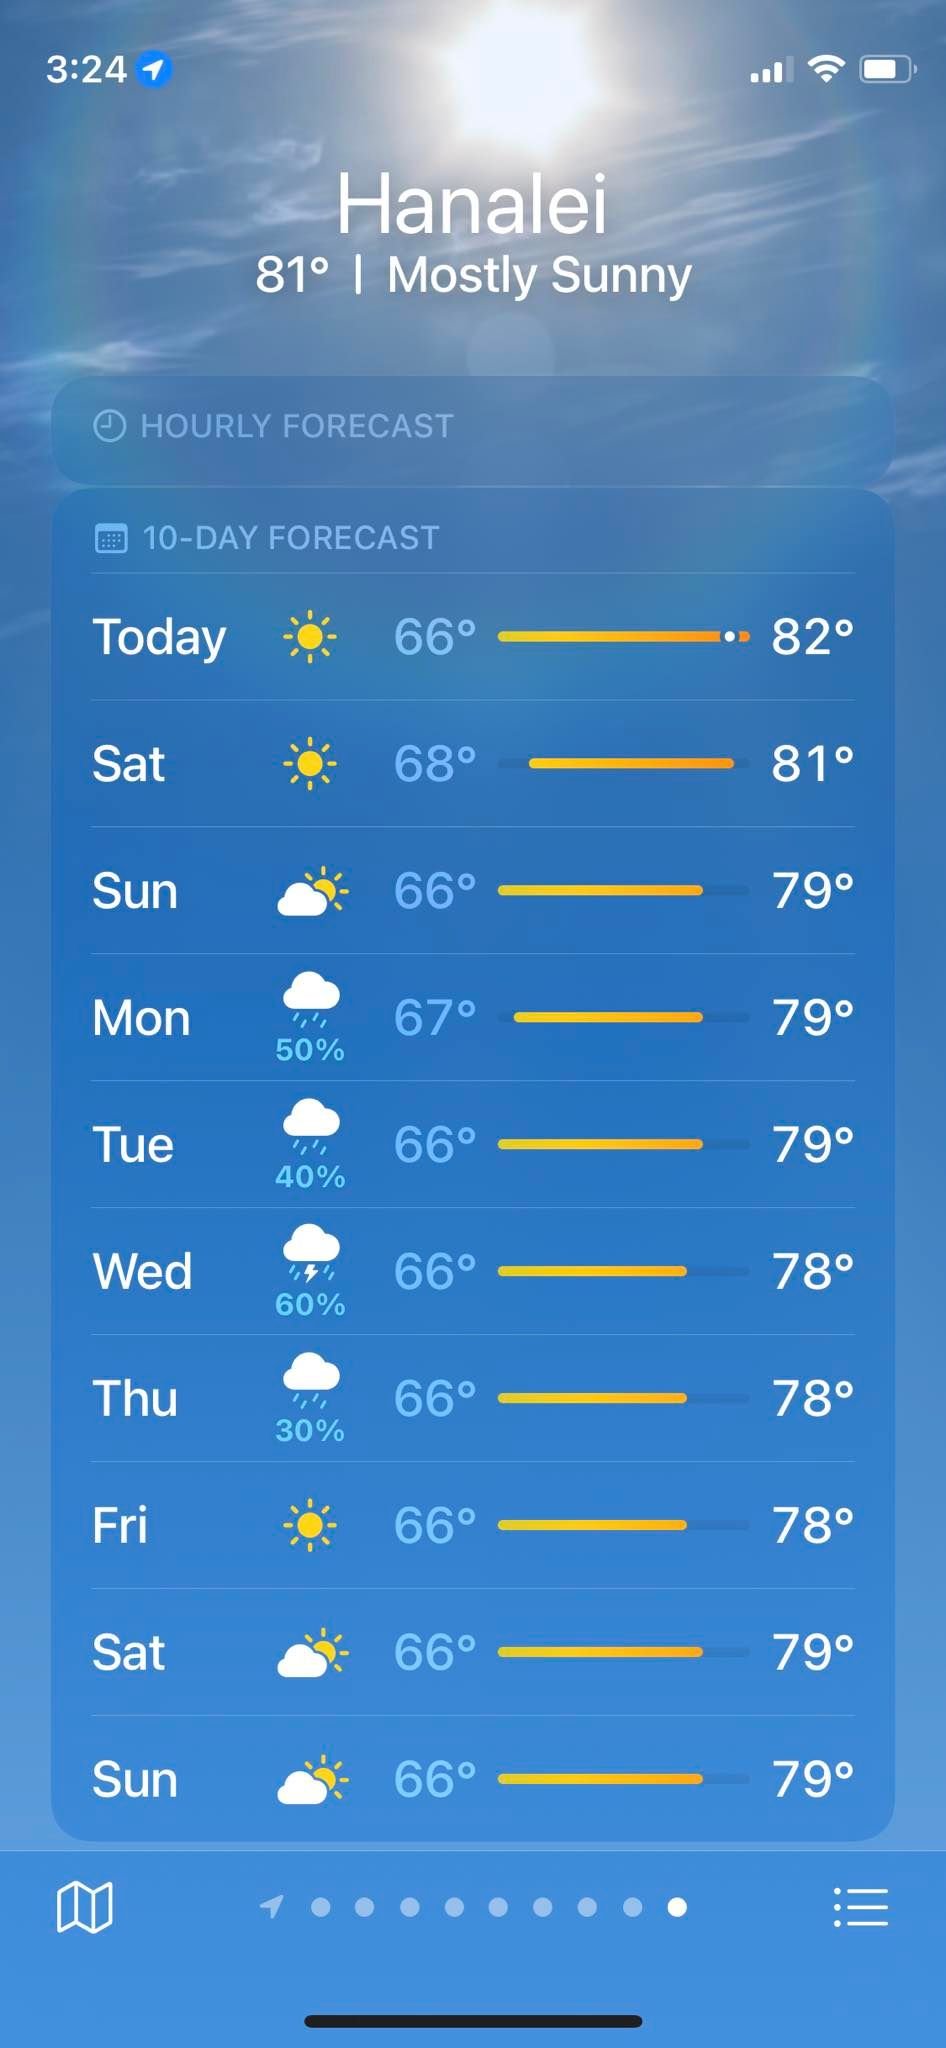
If your Kalalau backpacking trip is coming up and you are frantically checking the weather forecast, I don't blame you. I did the same thing. But don’t worry too much. The forecast changes every day, and is even less reliable about how much it will rain, where, and for how long. Even in winter, the highs in Kauai are in the 80s and the lows are in the 60s, so embrace the rain and the mud as part of the Kalalau experience. For us, the chance of rain was 50-60% for all 3 days that we were on the trail. In reality, it only rained 15 minutes on our hike in, and overnight on our second night at Kalalau Beach. We had clear blue skies and occasional clouds for the rest of our trip.
Buy Snacks
While I plan out and pack my backpacking meals, for snacks I take a more impromptu approach and often like to check out grocery stores local to my destination. My favorite is the Hawaii classic: Foodland. The Foodland in Princeville opens at 6 AM, and it’s also great for a grab-and-go breakfast or fresh poke. We stocked up on Hawaiian snacks and baked goods (musubis and ube bread while backpacking? Yes, please) from Foodland as I get extremely bored of eating the same food on every backpacking trip.
Sunset at Kalalau Beach
Resources
Kalalau Trail DLNR page for trail conditions
Kalalau Facebook Group a really active and helpful community of past and future Kalalau Trail hikers
camping.ehawaii.gov for booking permits
GoHaena for overnight parking reservations
I hope you found this guide helpful. Have an amazing time, and please feel free to leave any questions in the comments!
Disclosure: this page contains affiliate links. If you click them and make a purchase, I will receive a small commission at no cost to you. Thanks for supporting my blog!
